")
")
28mm Gelände, Gebäude, Miniaturen
und mehr für Tabletop und Diorama
Startseite Anleitungen und Tipps Bemalanleitungen Bemalanleitung für eine Gebäuderuine
Bemalanleitung für eine Gebäuderuine
Bemaltutorial "Gebäuderuine" von Elmar Fischer
Leider ist dieses Tutorial derzeit nur in Englisch verfügbar. Ich hoffe aber, dass die ausführliche Schritt für Schritt Bebilderung und ggf. auch die englischen Infotexte für den Einen oder Anderen von Interesse sind.
Welcome hobbyist to this painting tutorial. Its very straightforward showing simple but effective techniques like drybrushing and the extensive use of weathering with pigment powders.
The painting prosess starts with priming the model in a very dark grey or in black. The fastes way is to use a spray can.
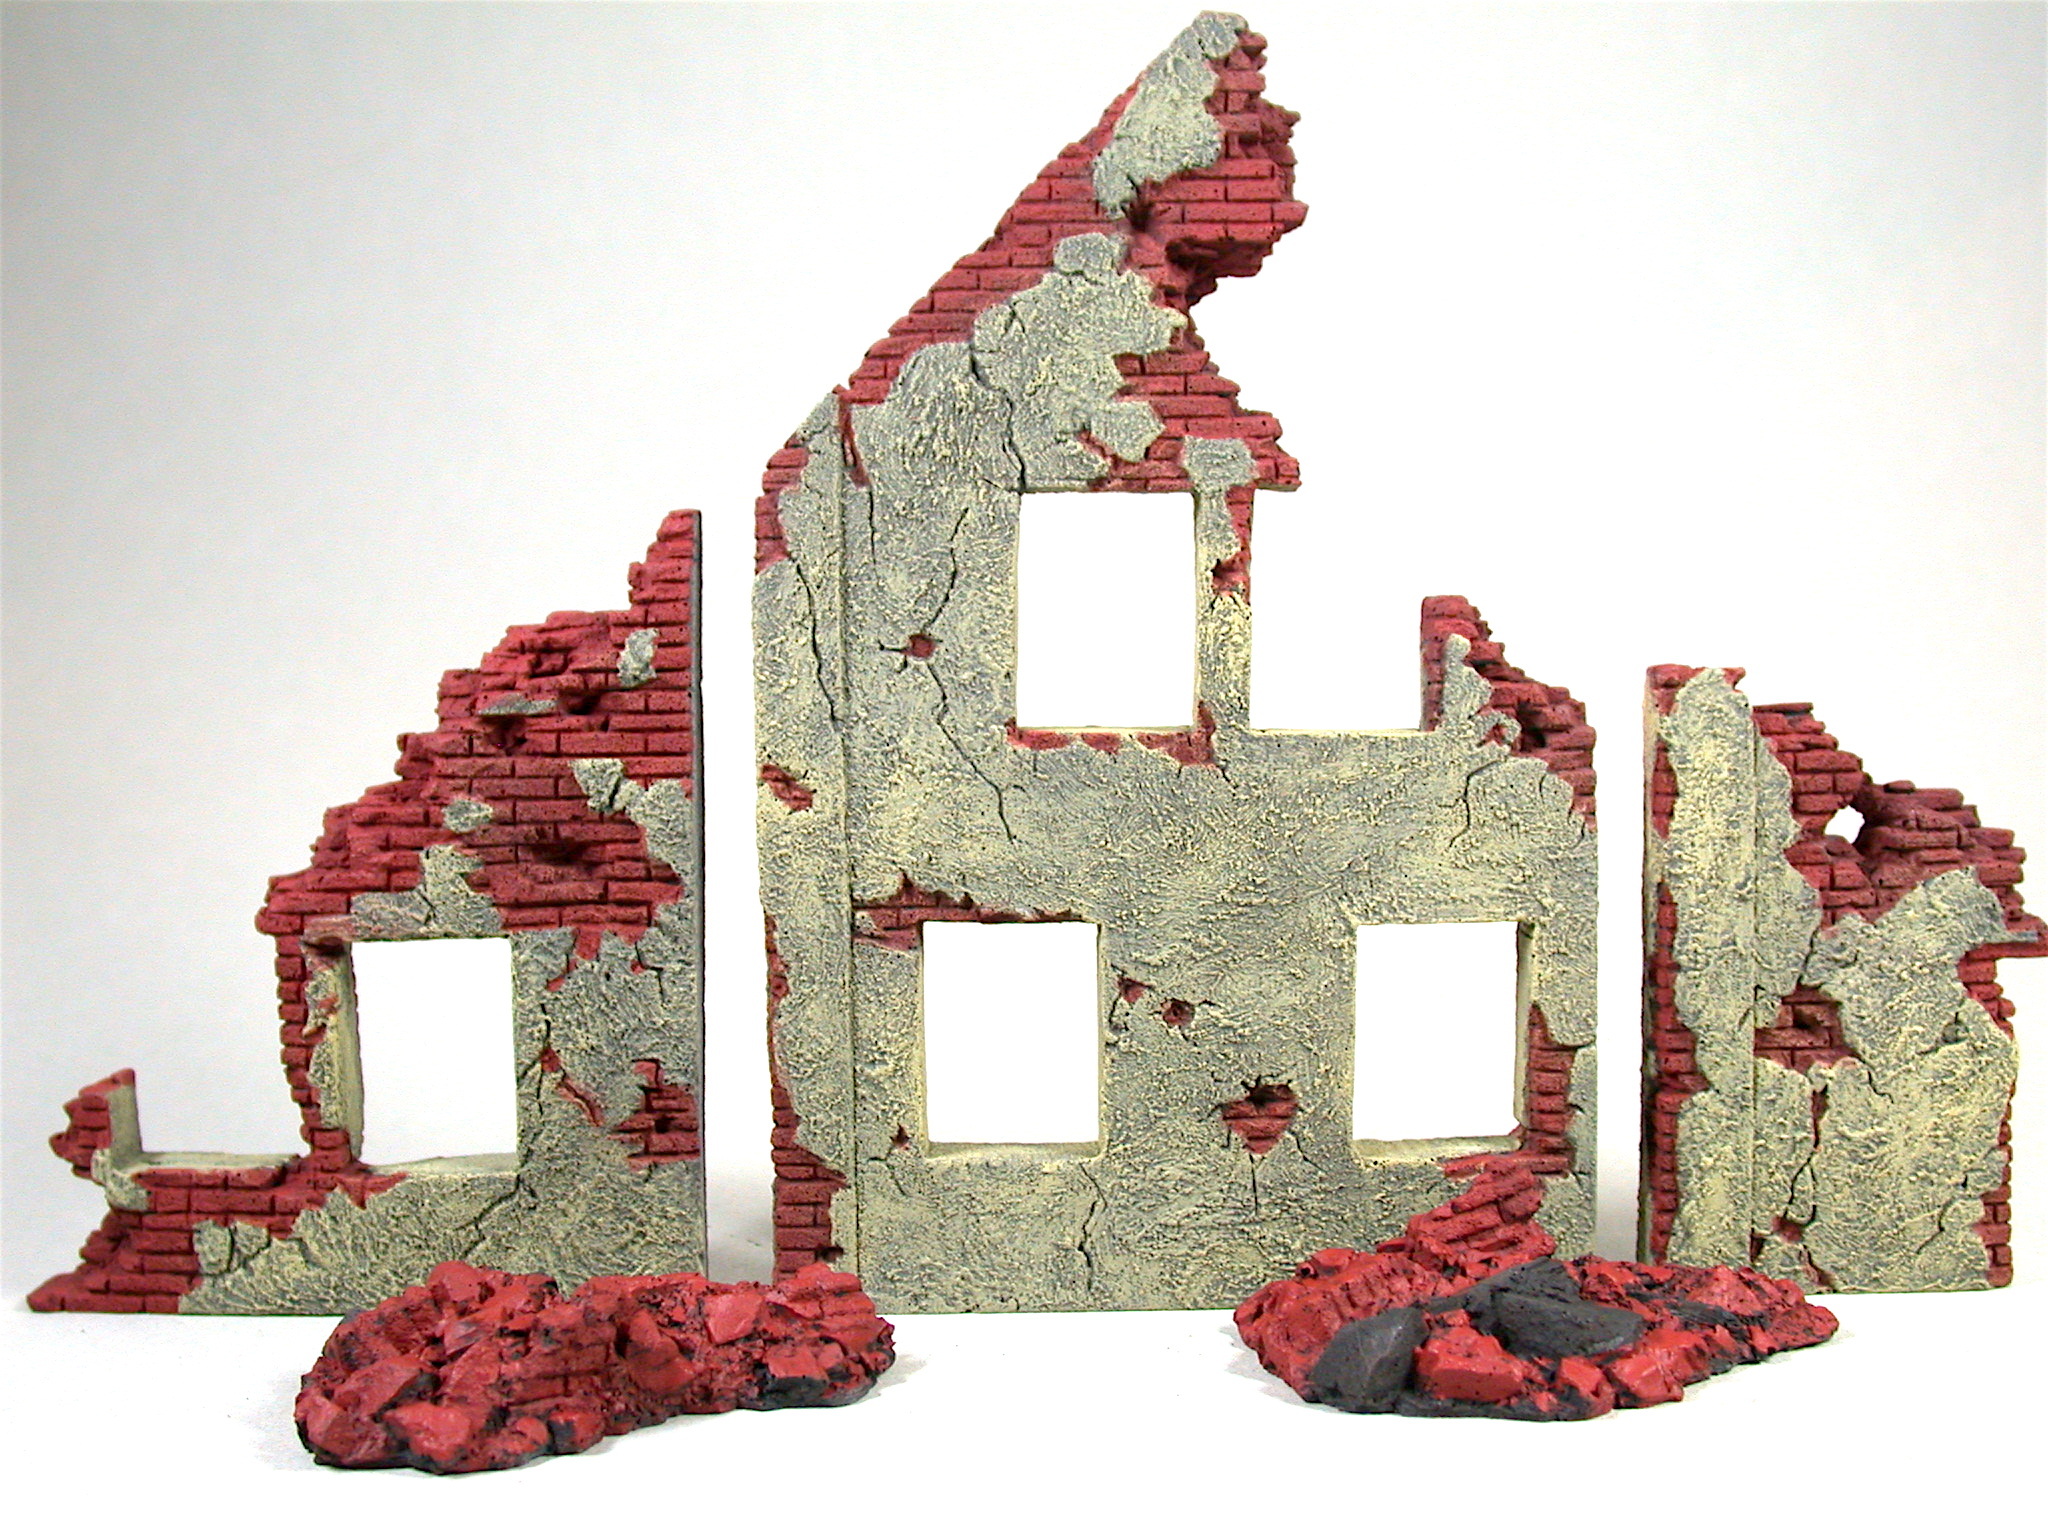
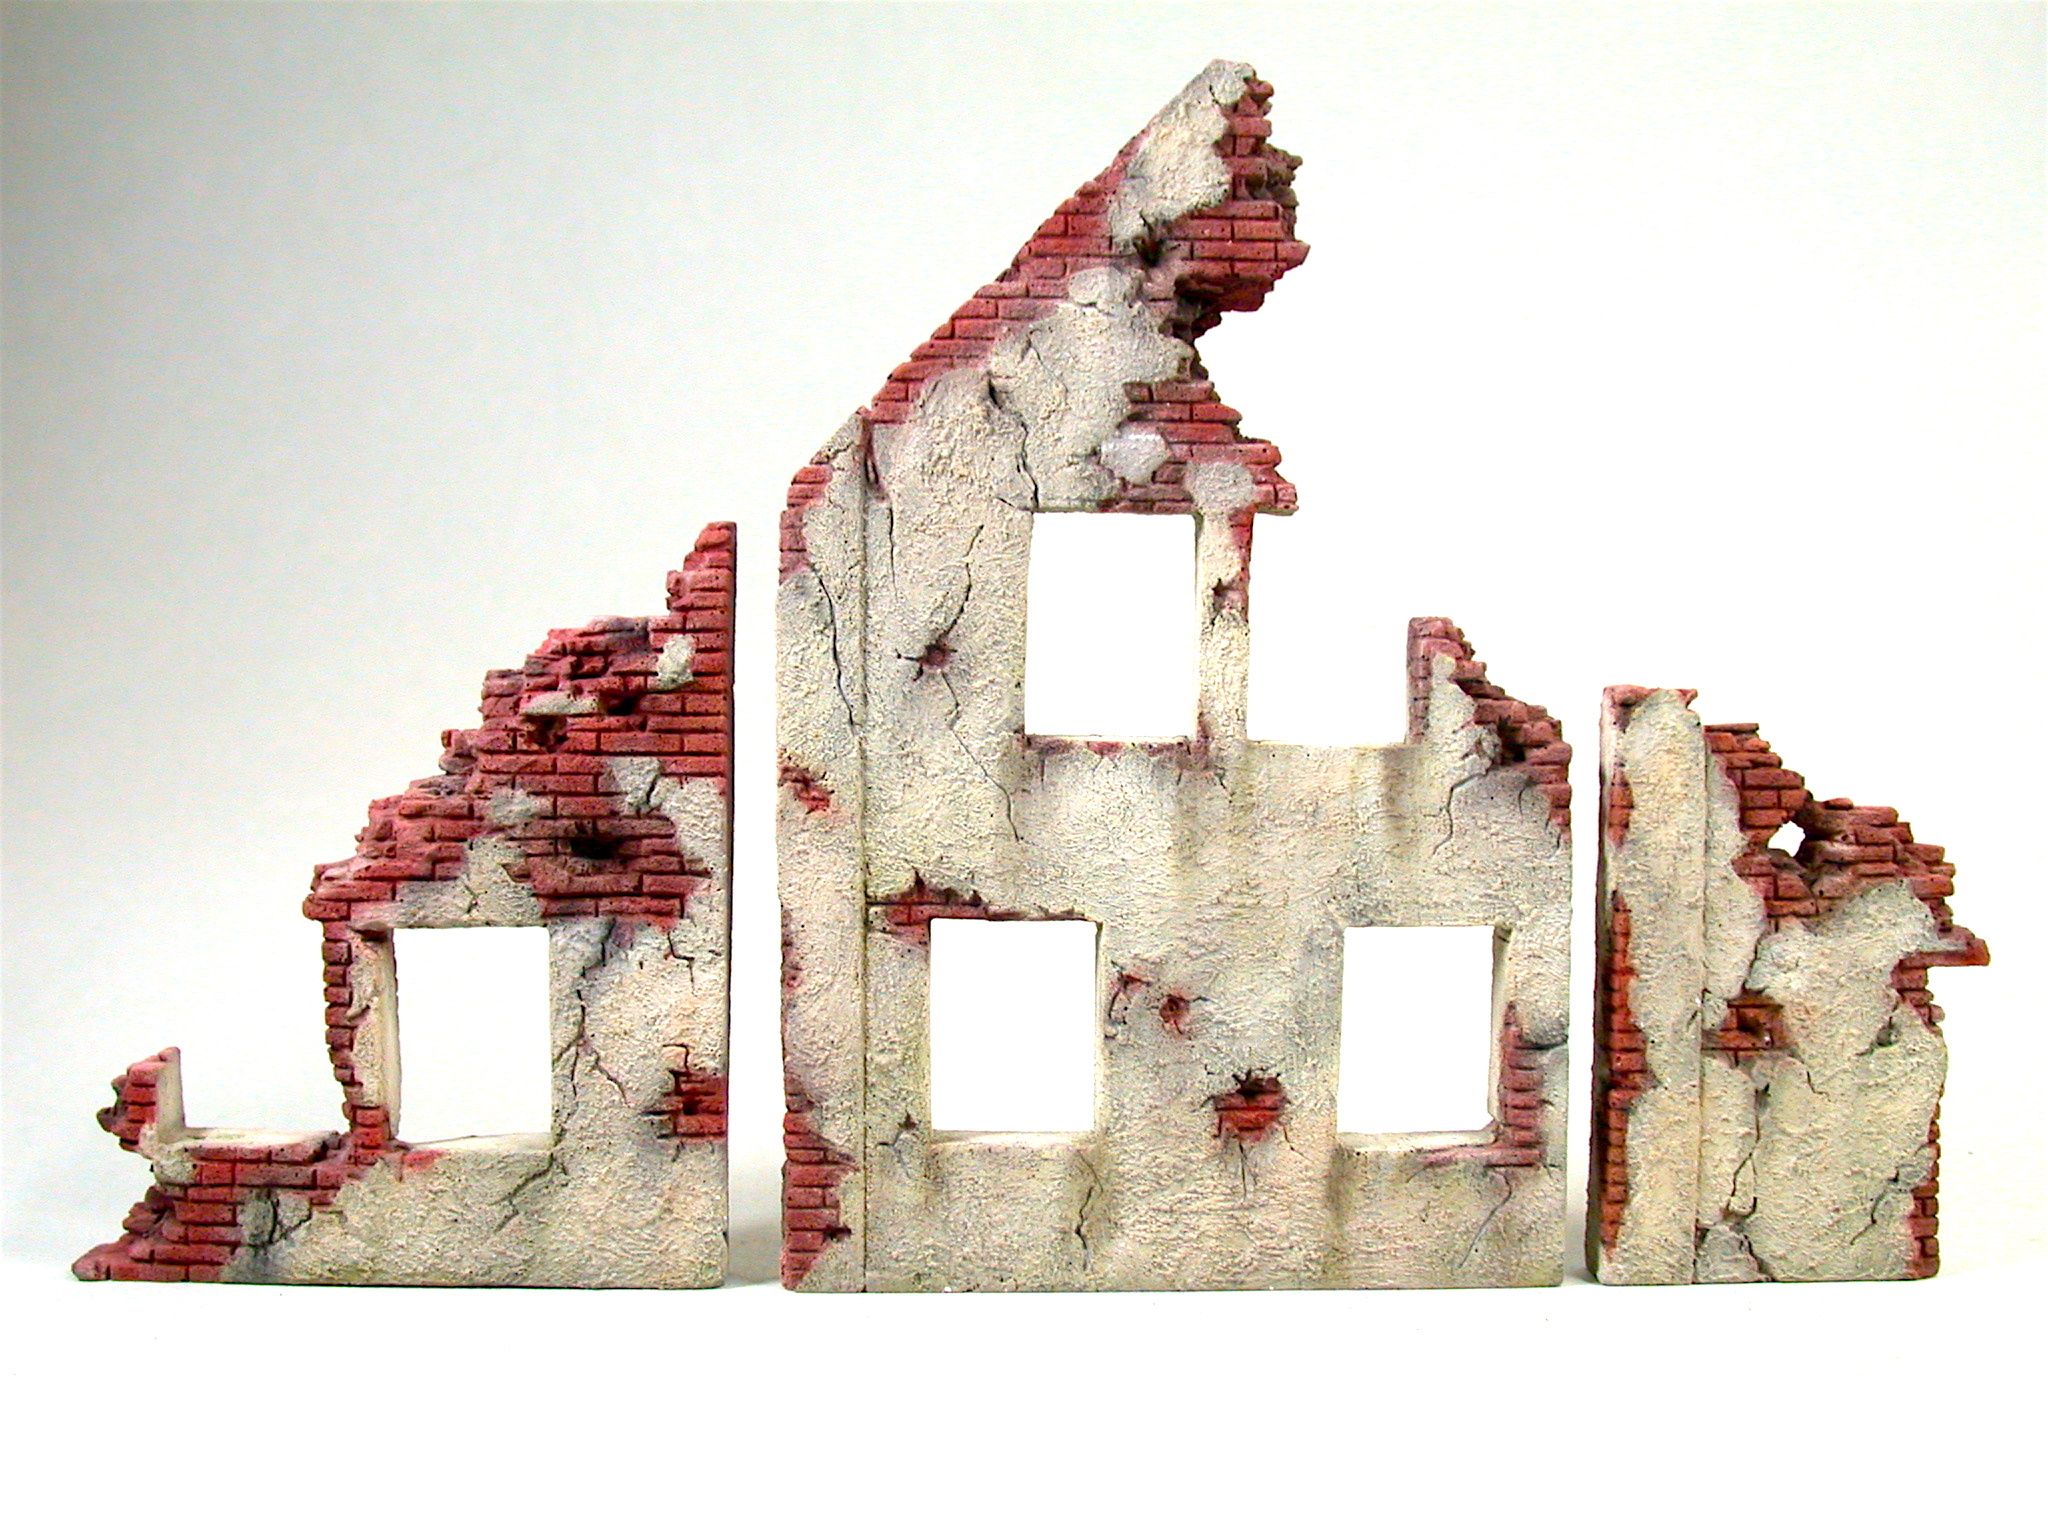
Step 1: Basic colours for the walls
I began painting by applying the basic colours.
The plastered areas are heavy drybrushed with a light beige. Don't care to much for a neat look at this stage.
Then I carefully painted the brickwork with a dark red. This is the most difficult and most time consuming step of the whole painting process because it has to be done very accurate and neat.
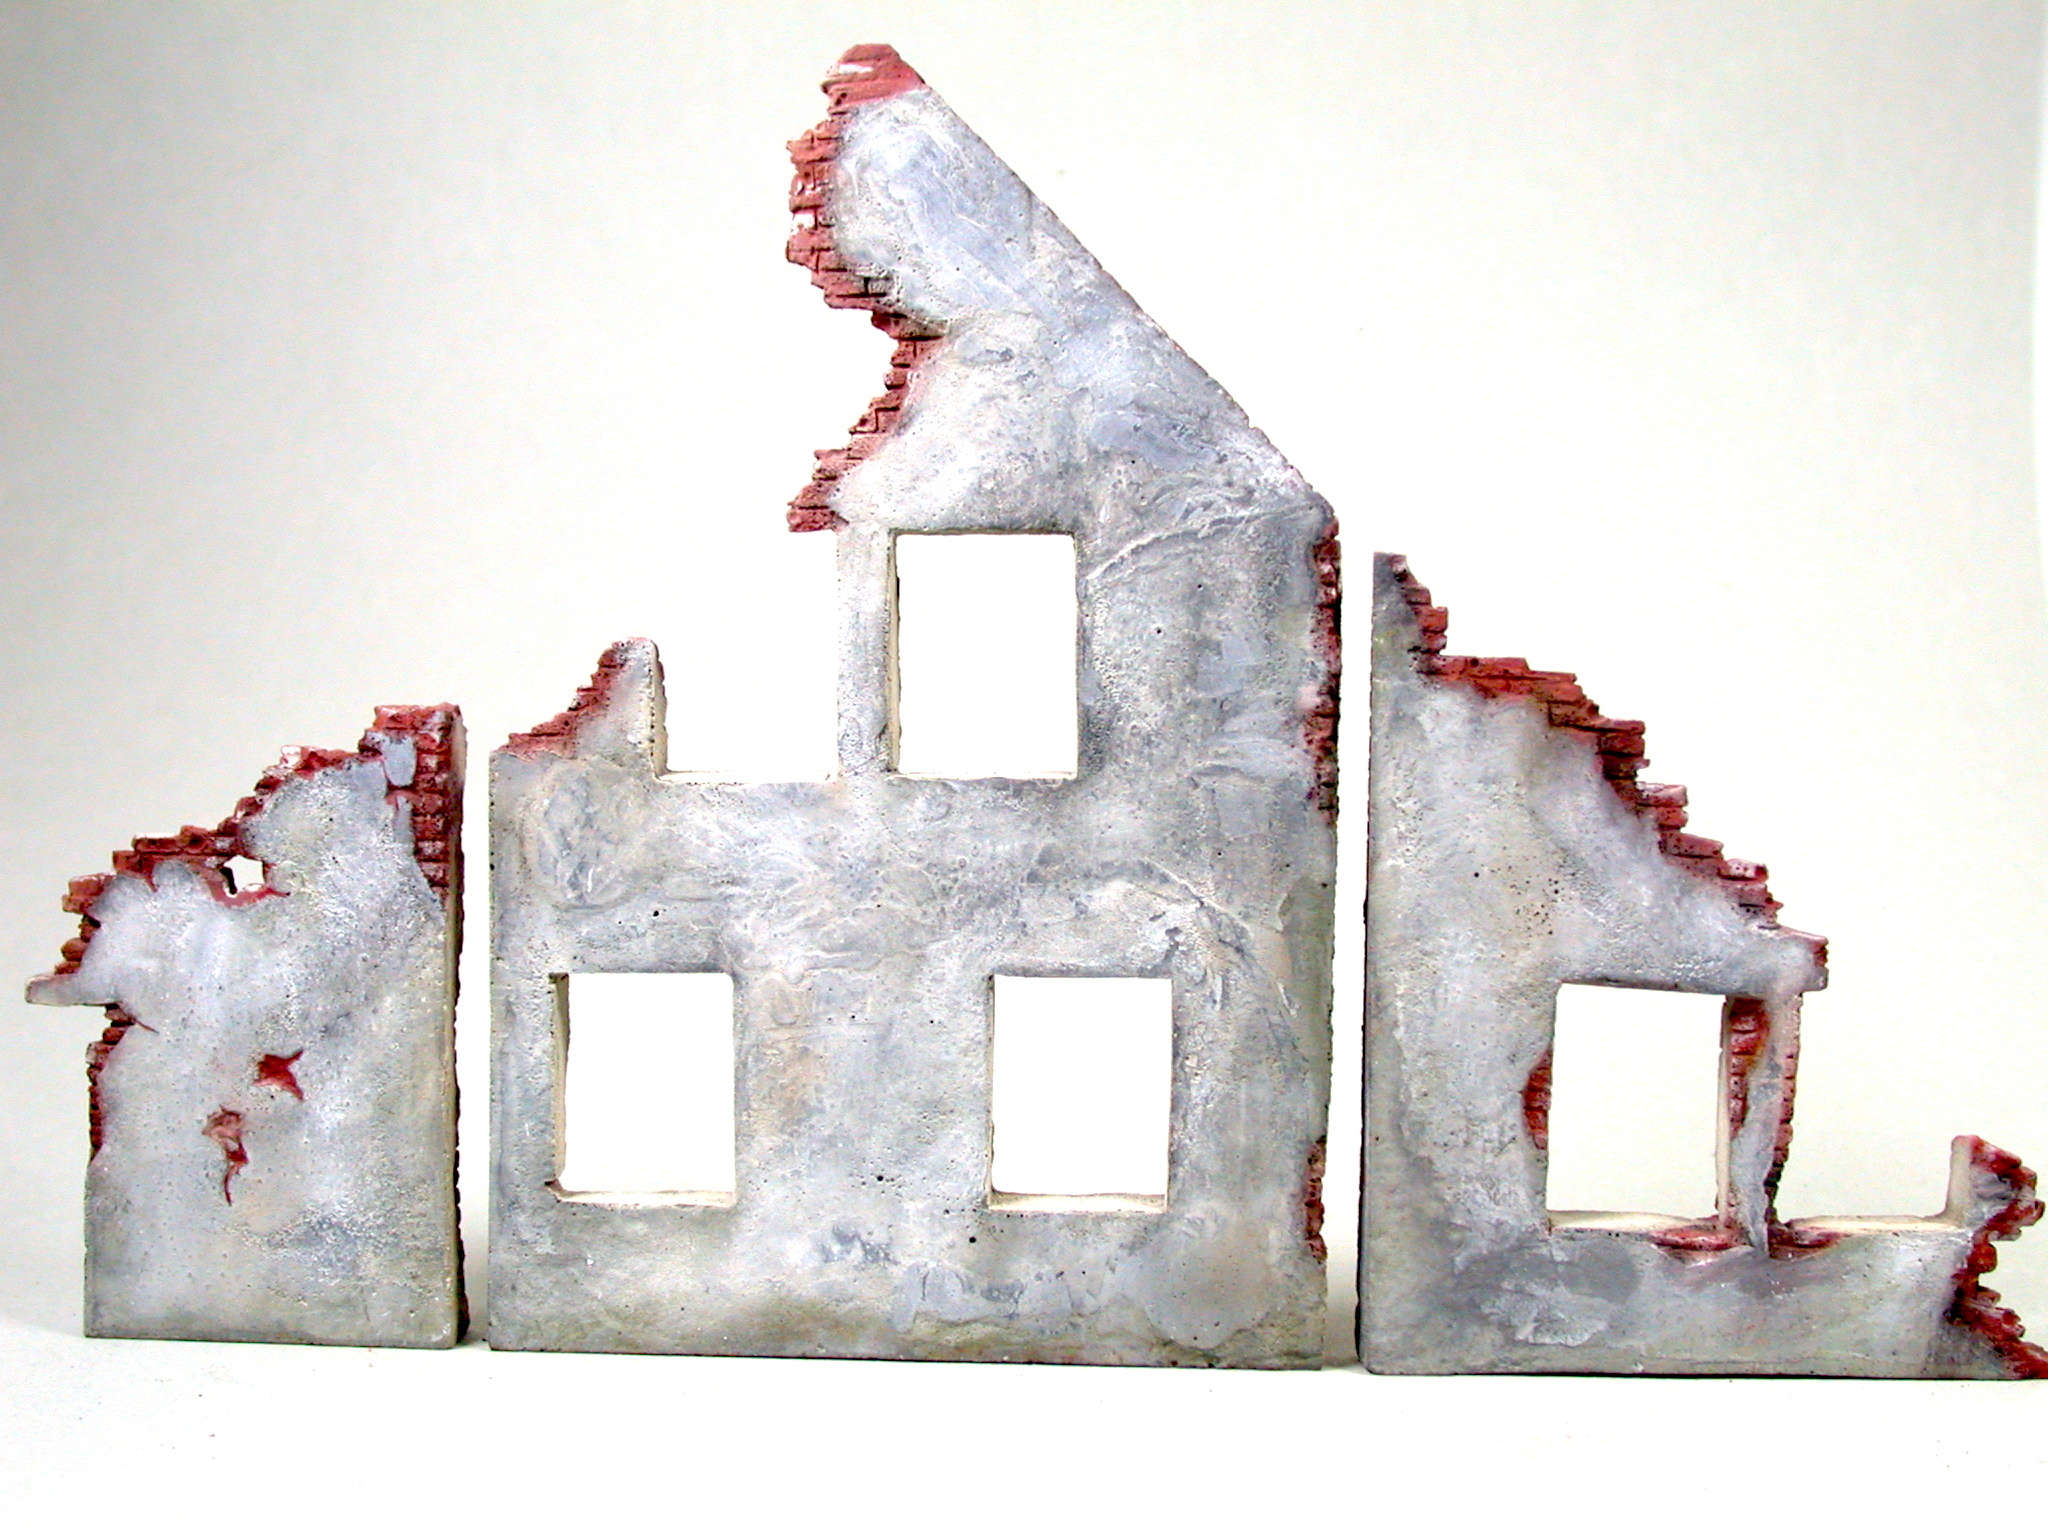
Step 2: Colouring and weathering the walls with dry pigments
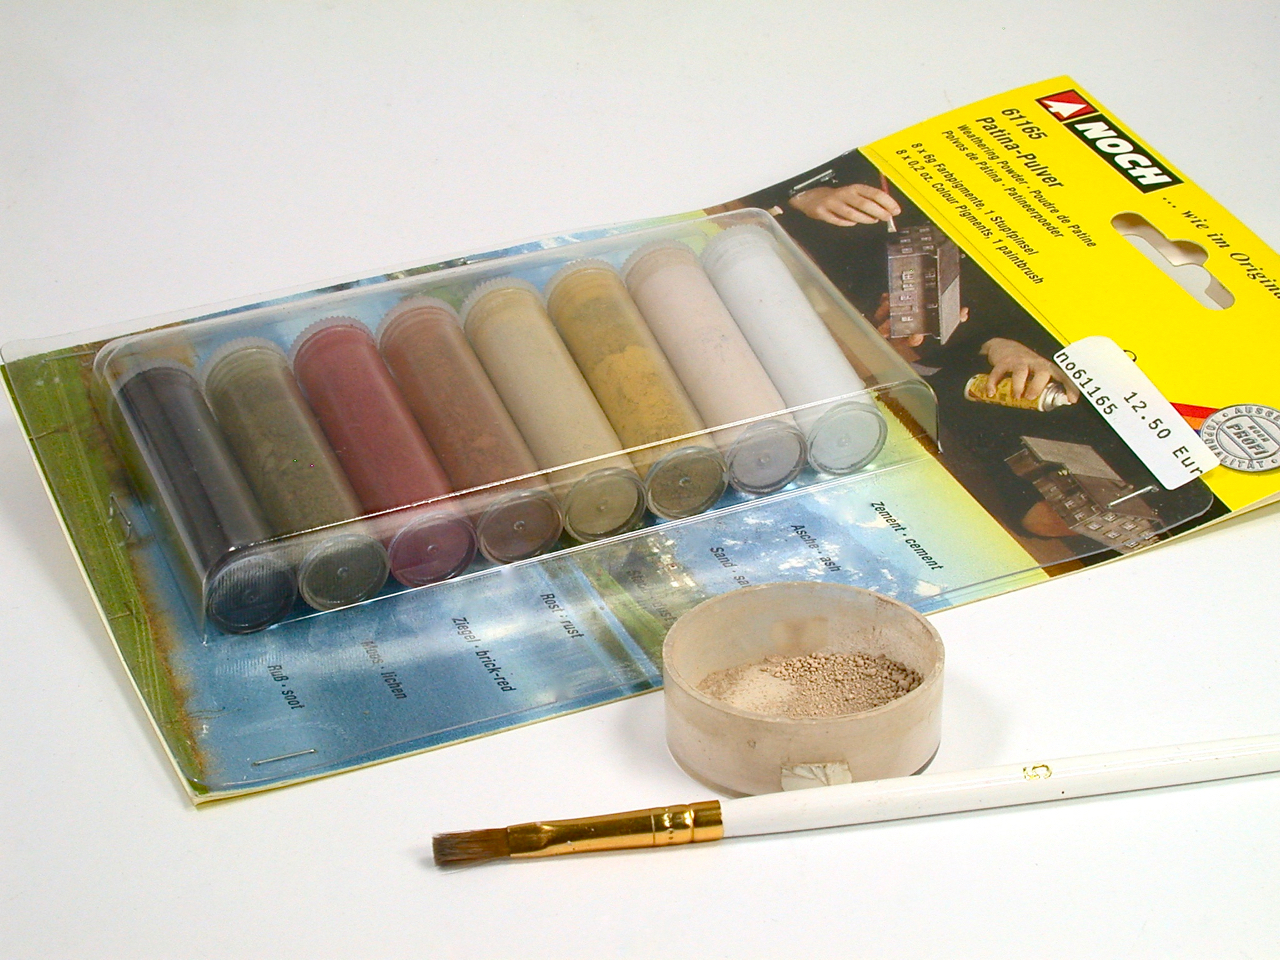
The final colouring was done with dry pigments. I brought a set with 8 very useful colours from NOCH. For me the use of dry pigments was a way to speed up the painting process comparing to drybrushing and washes. And I think the result is even better and more realistic.
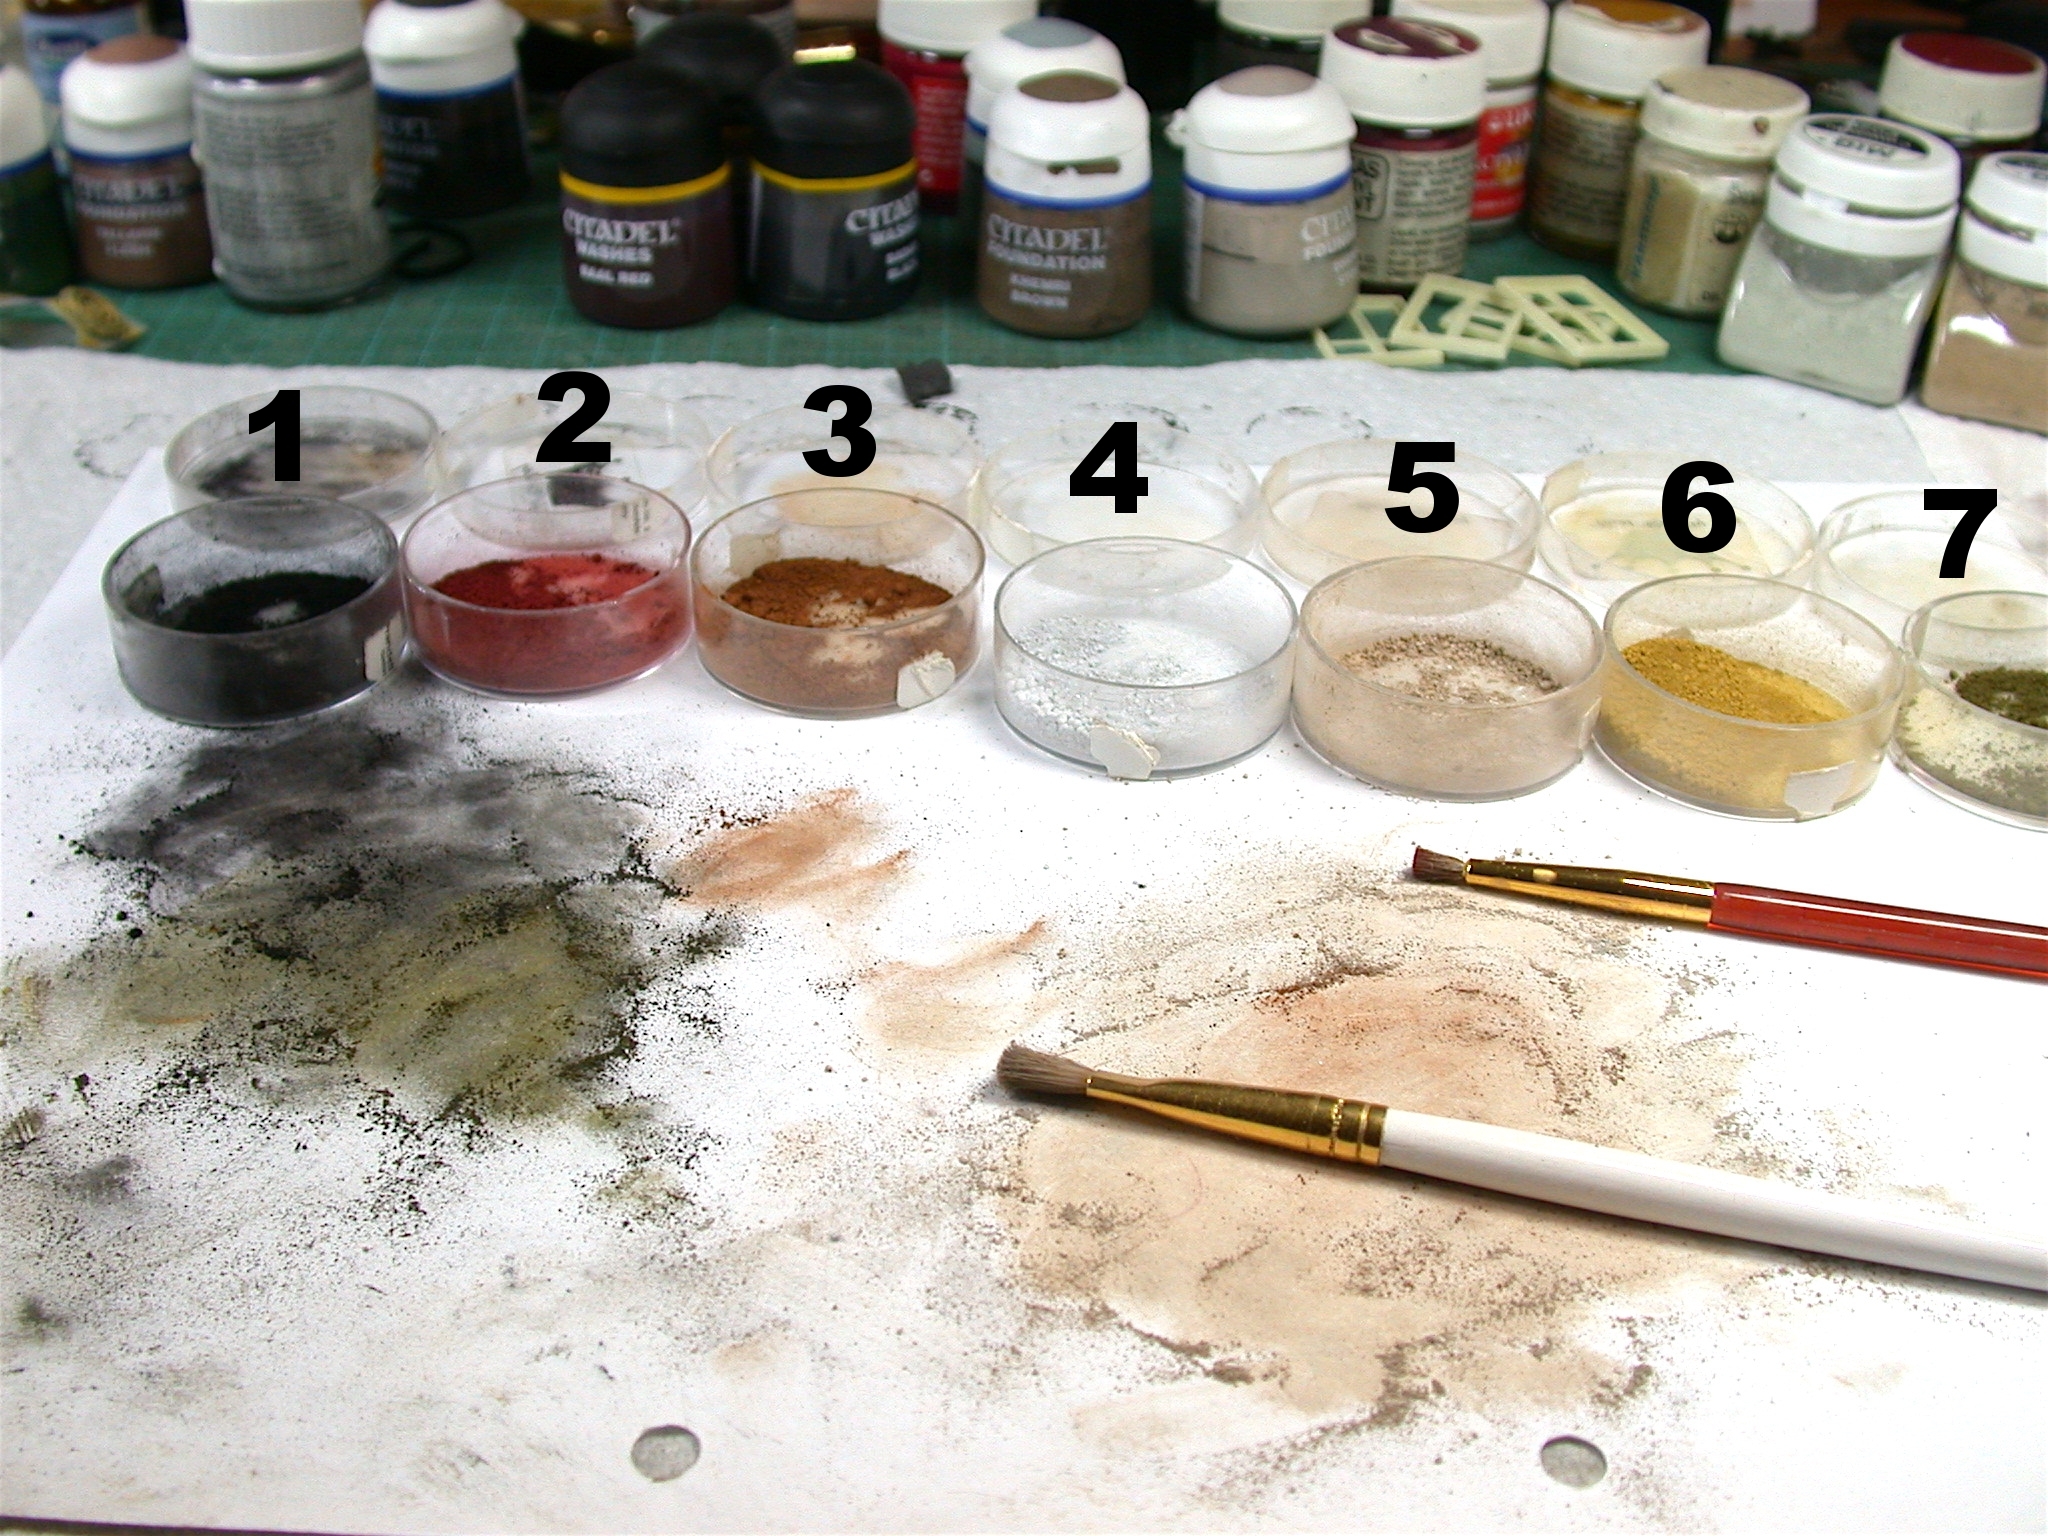
I used the following colours of dry pigments for the different areas:
- Plastering of the outer wall: Number 5 with a little bit of number 4
- Bricks: Number 2 and 3 with a little bit of number six
- Plastering of the backside: Number 4 with a little bit of number 1
- Weathering and dirt: Number 1 and 7
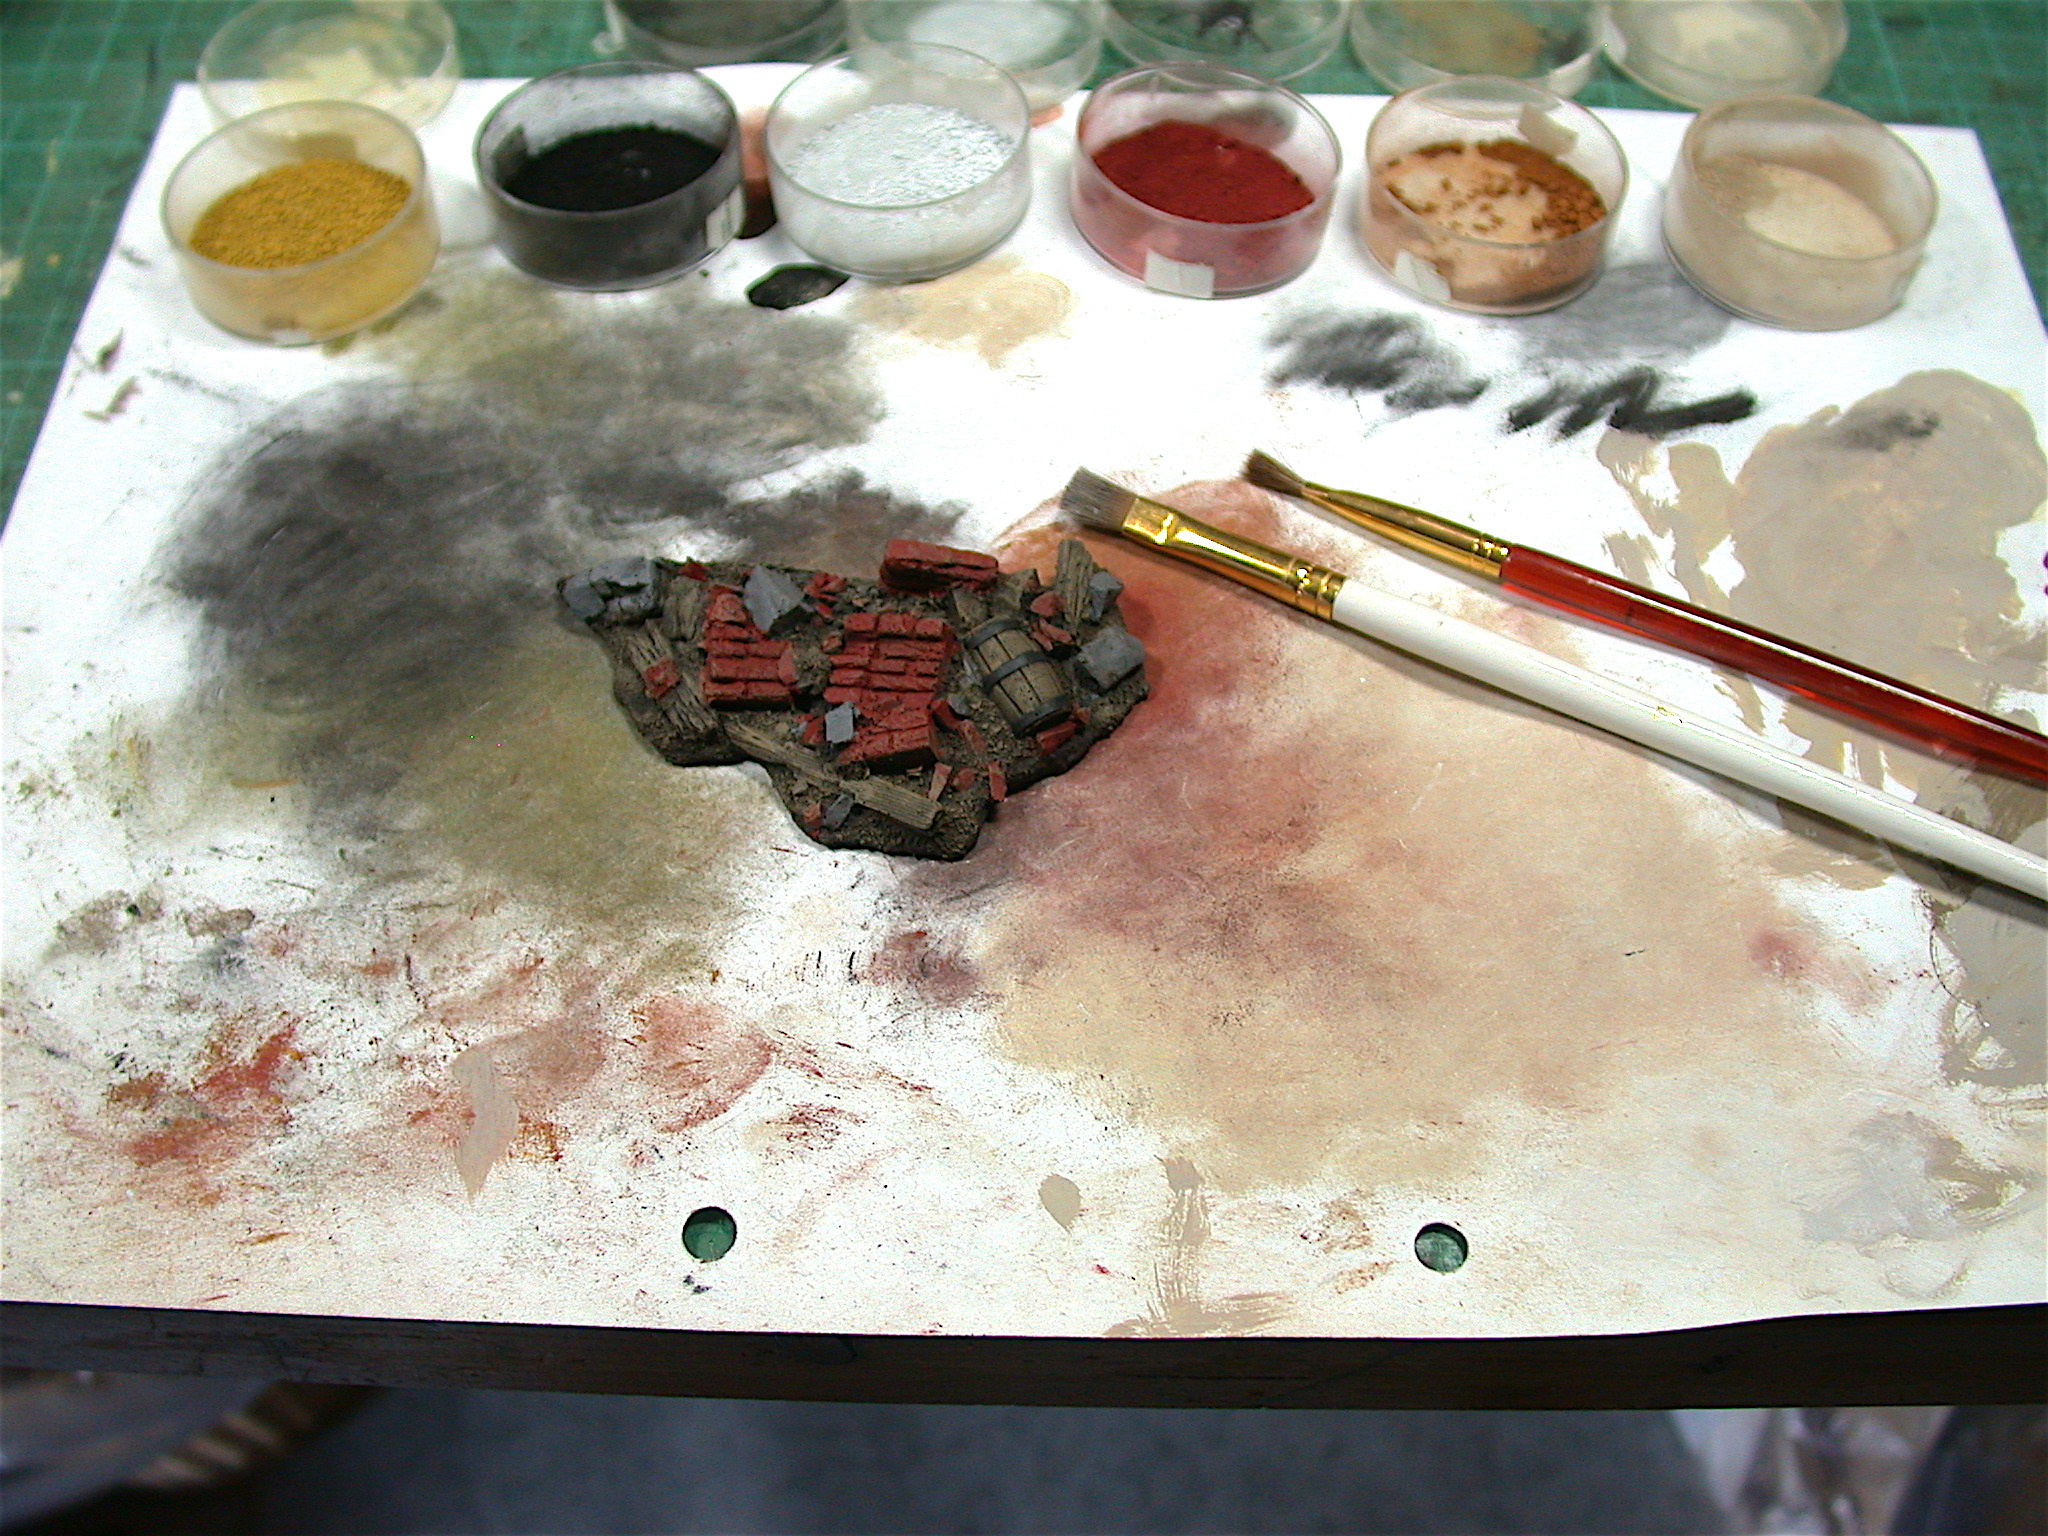
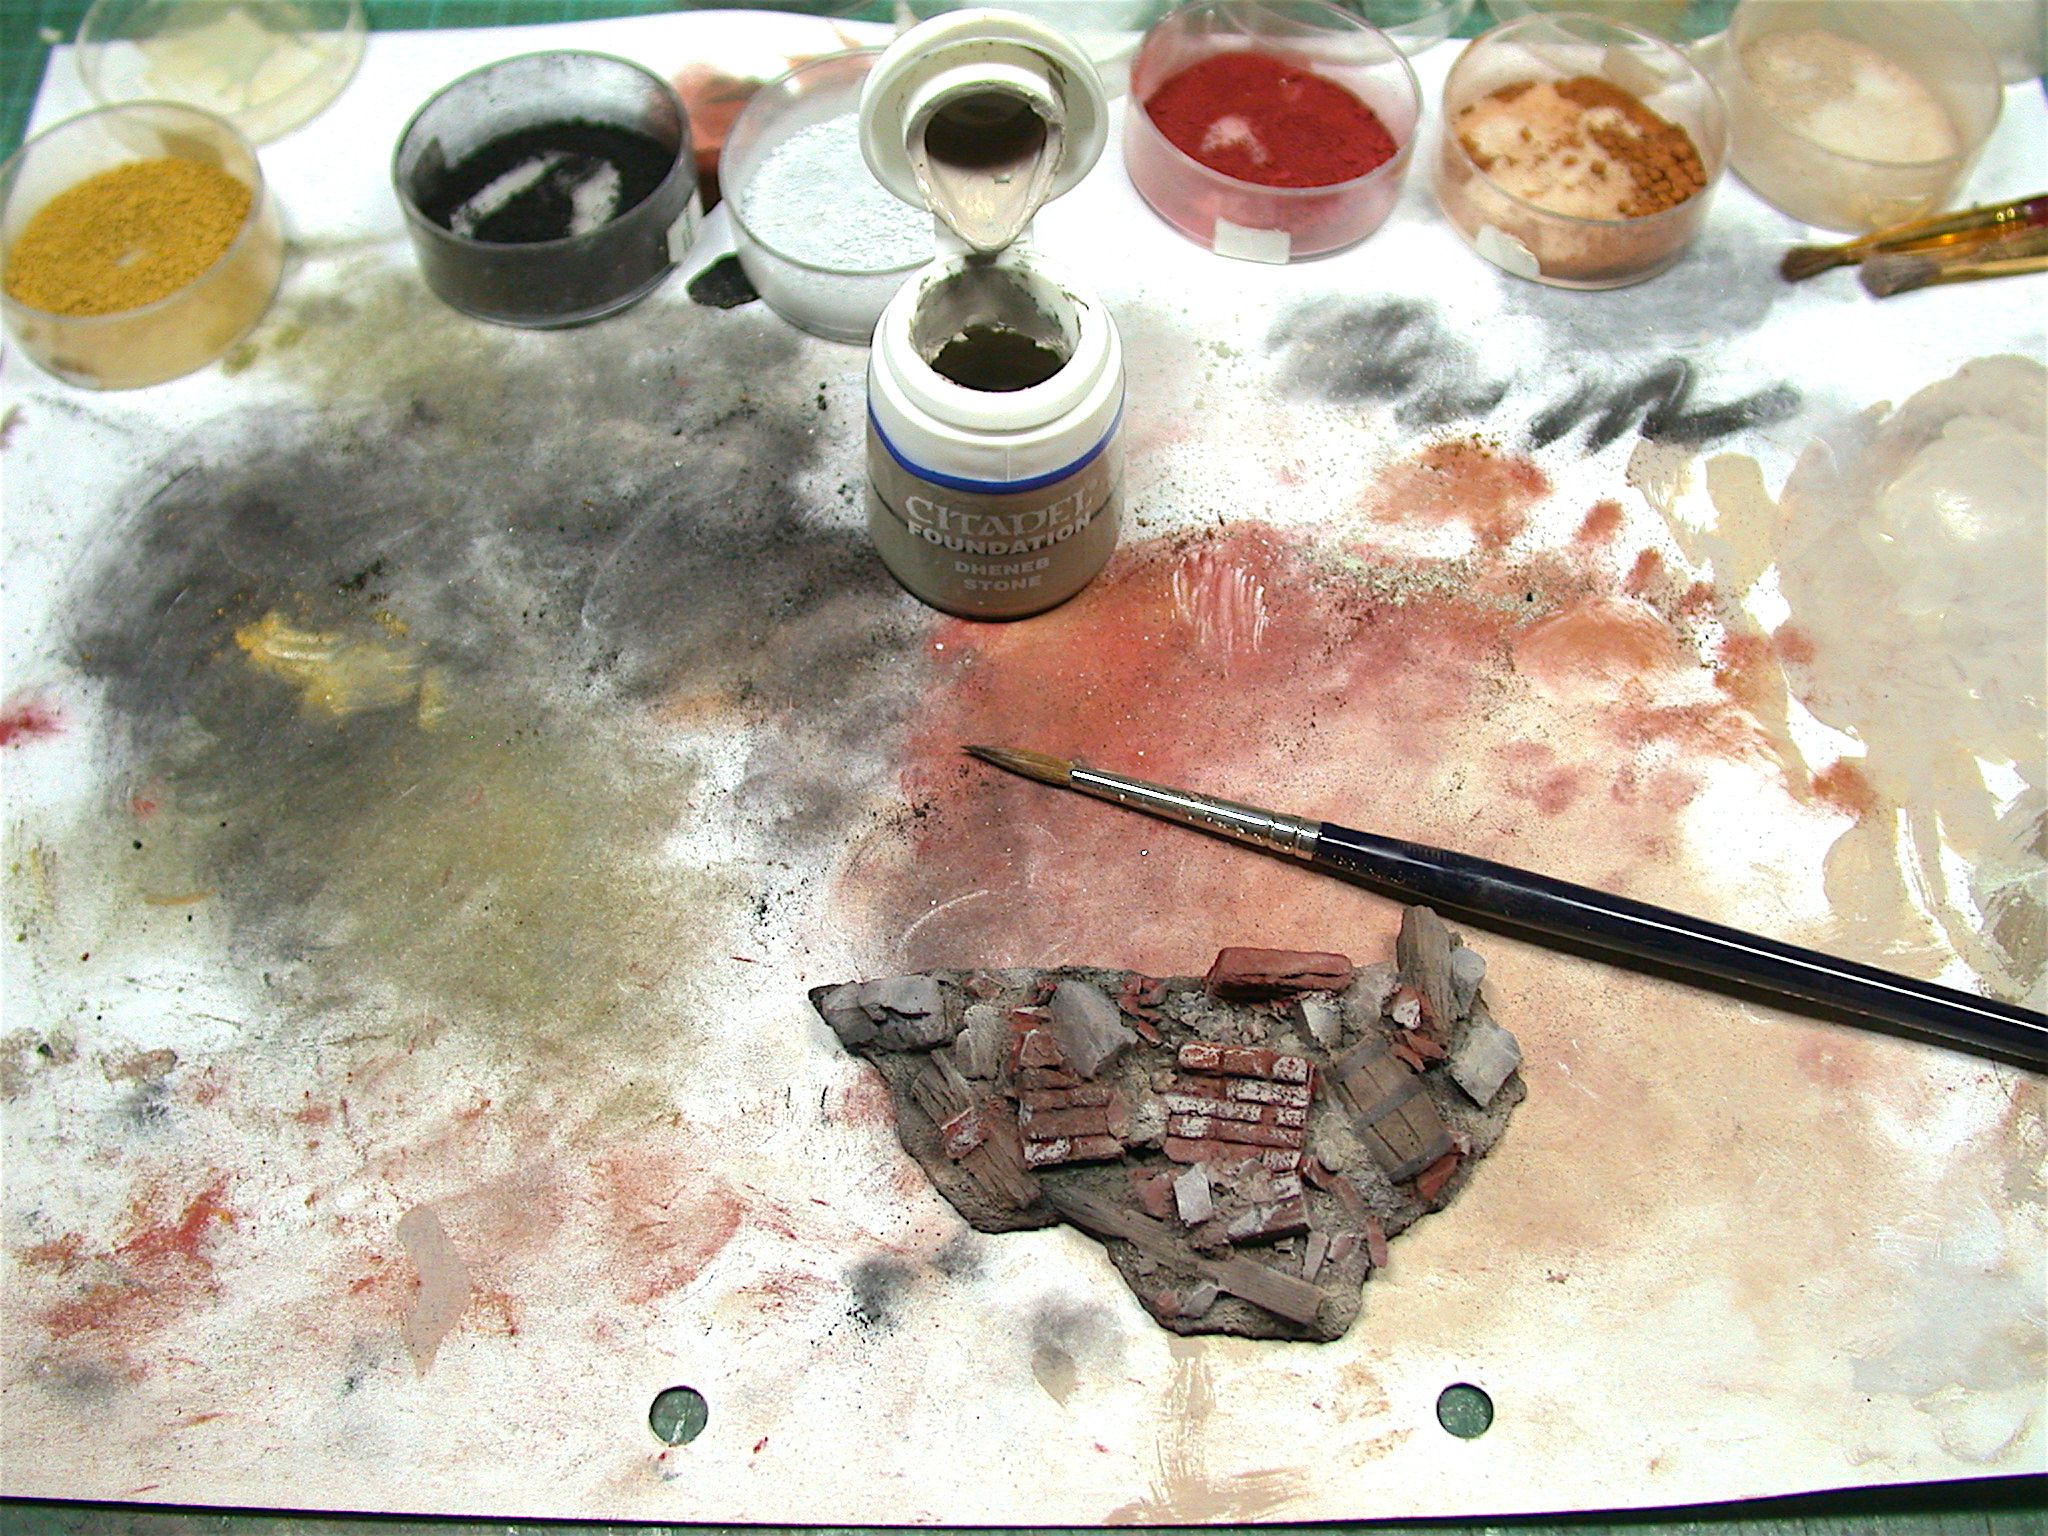
I use a sheet of white paper as a kind of palette. Here it is easy to mix different shades of colours and to get the right amount of pigments to the brush.
I apply the pigments with a brush (synthetic hair). When the dry pigments are rubbed on the surface with the brush the pigments stick very good to the model. Handling the models don’t leave pigments on the fingers or marks on the model.
I don’t use any varnish on my modelsbecause I don’t handle my models very often. I only take them out of the cabinet a few times in the year, mainly for conventions or photo shootings. It might be a good idea to varnish the model if you want to use it for a lot of wargaming. But then you have to apply more pigments because the varnish will take a part of the colouring and weathering effects.
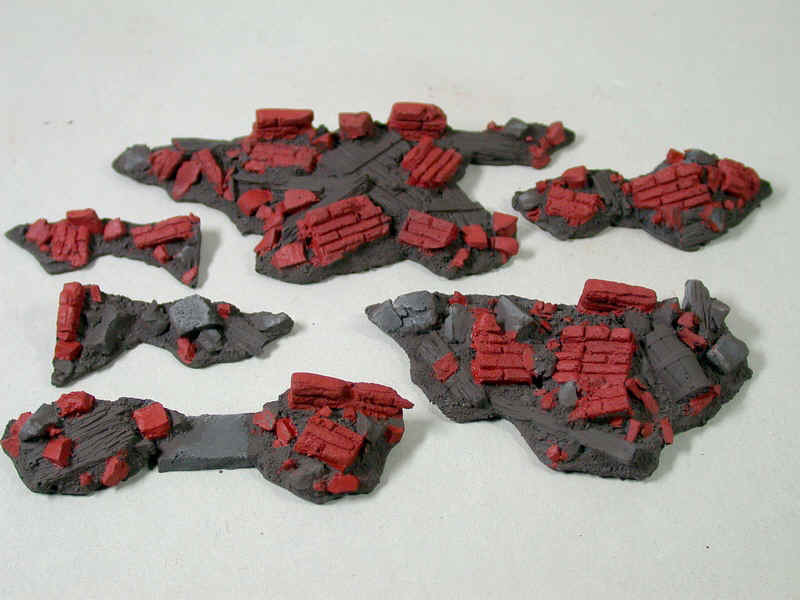
Step 3: Basic colour and a drybrush for the Rubble
The black primed rubble pieces get a heavy drybrush in a dark brow first.
All the visible bricks get a basecoat of dark red and all areas looking like concrete or stone are painted in a dark grey.
The next step was a drybrush with lighter colours
- mid brown for the woodenparts and the earth
- light grey for concrete and stones
- ochre for the wood
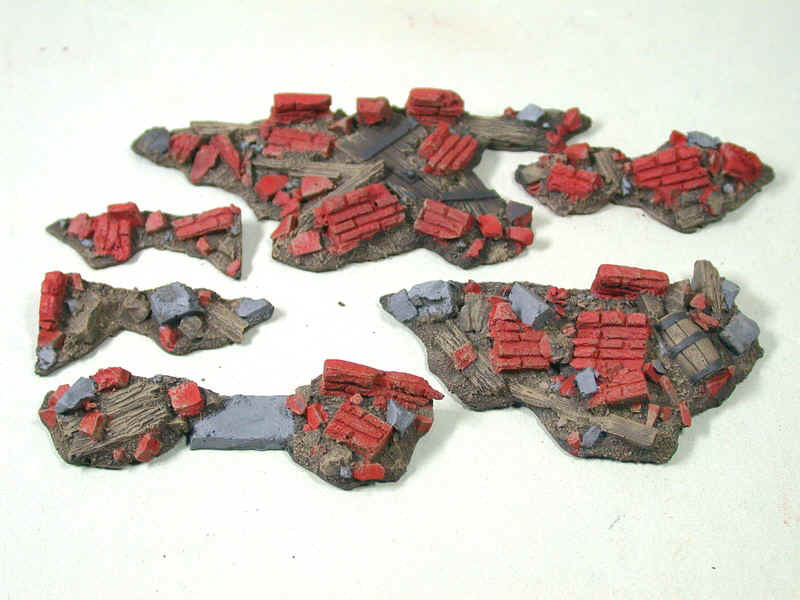
Step 4: Colouring and weathering the Rubble with dry pigments
Once again dry pigments are used to achieve the final colours. The dusty and realistic look can't be done with other painting technic so straightforward and fast.
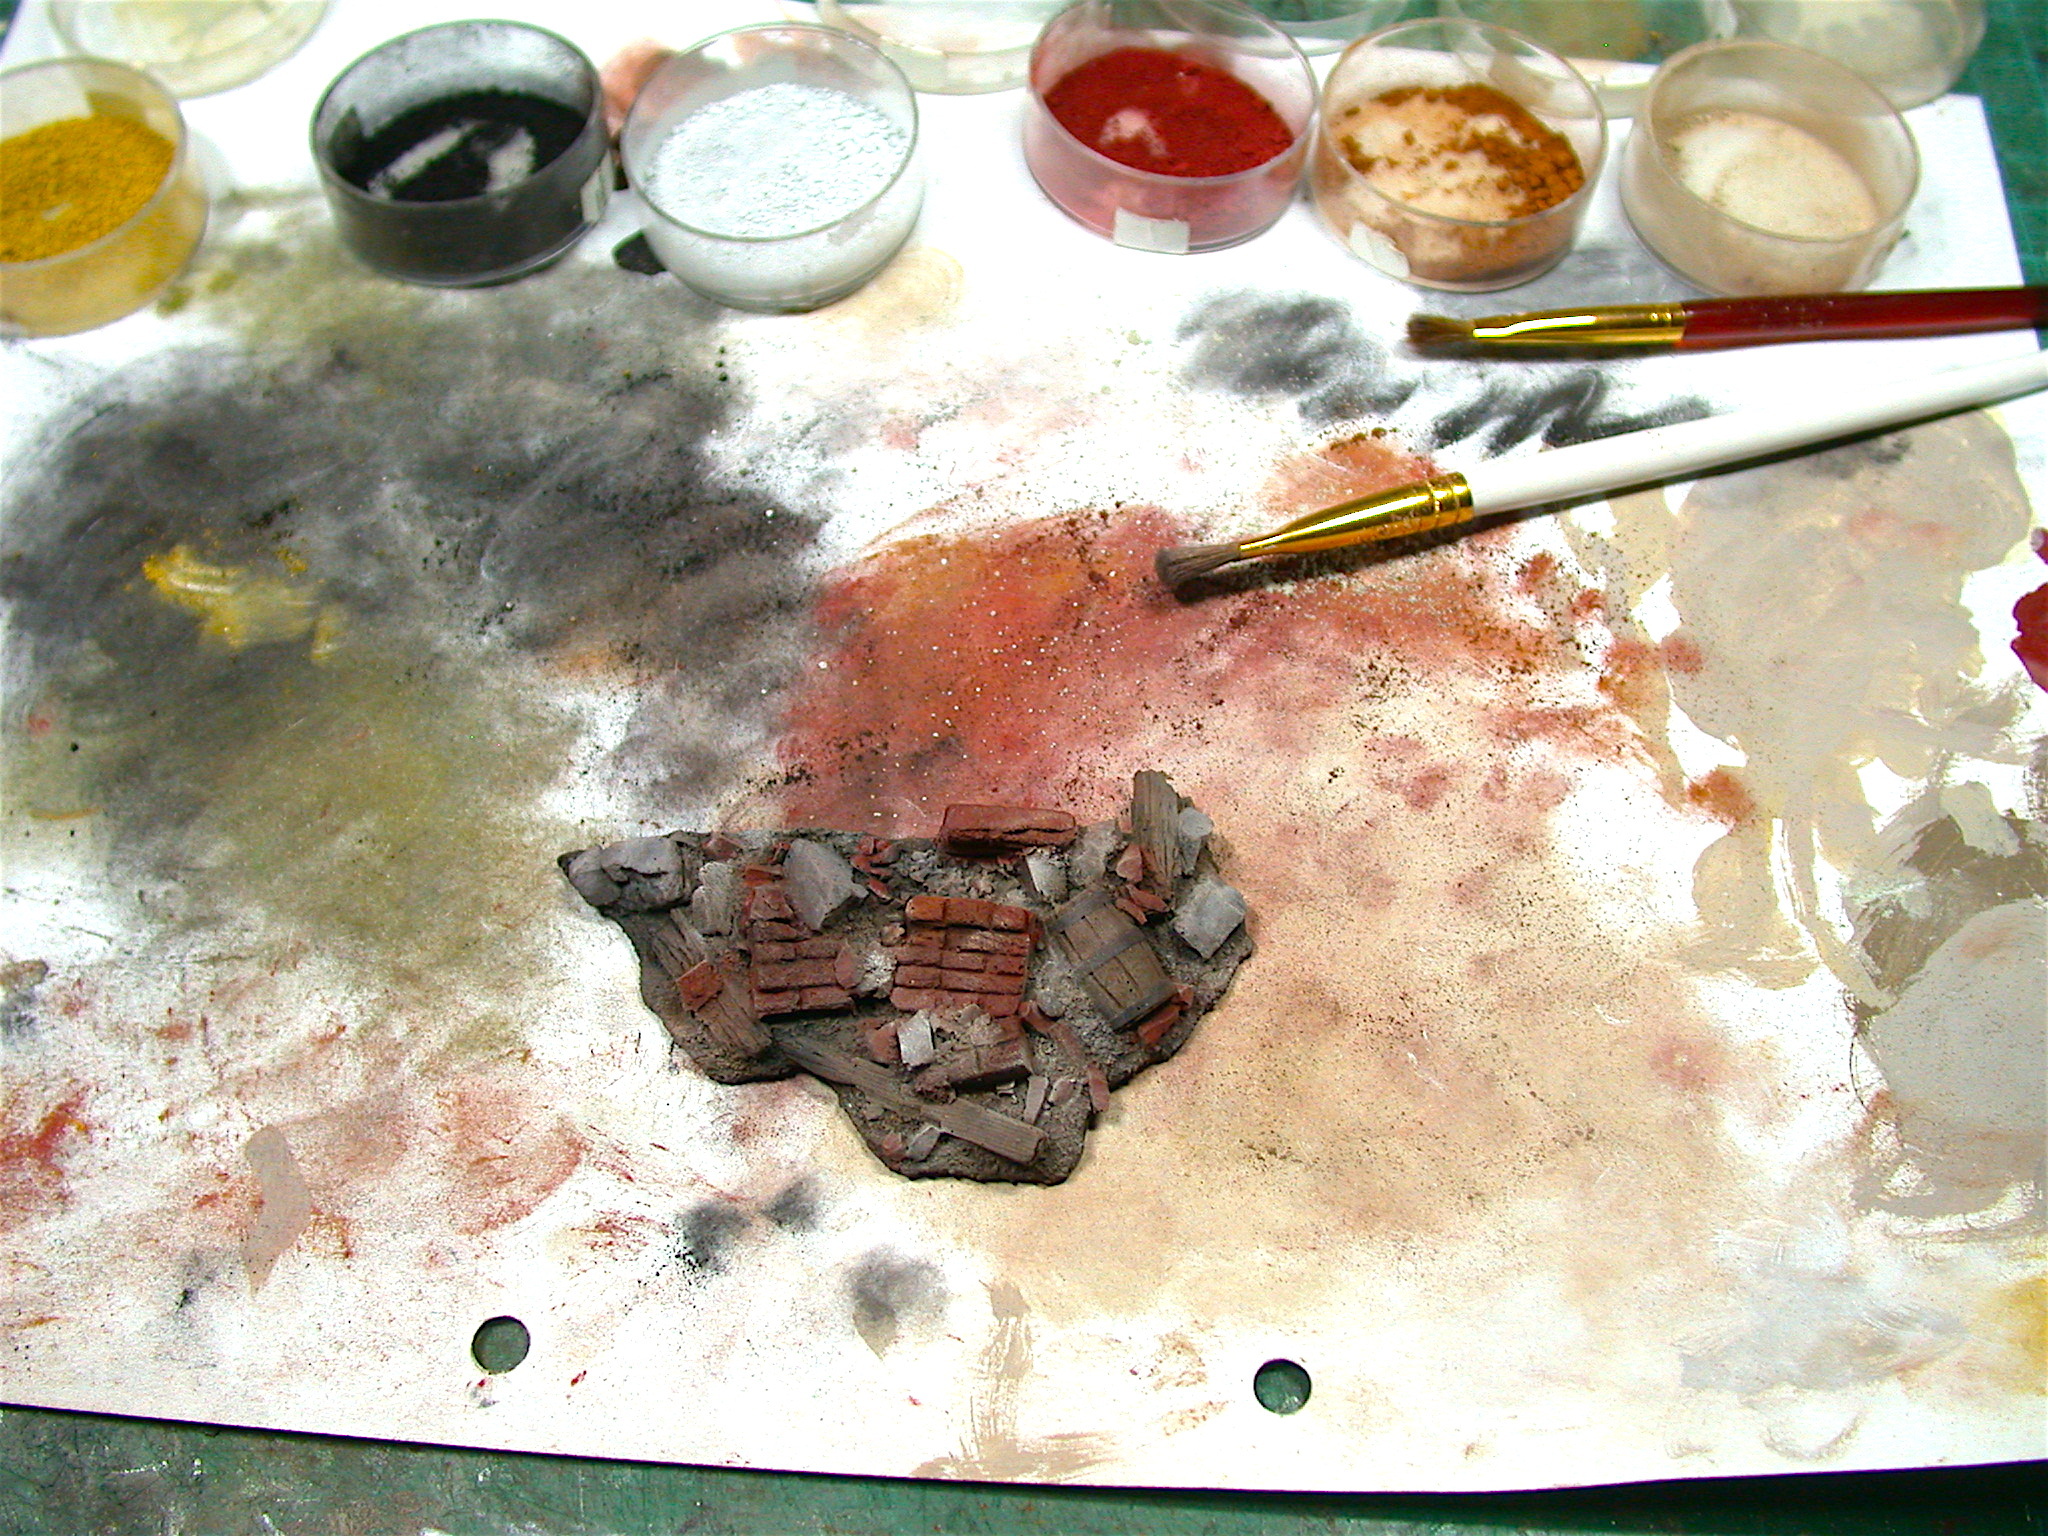
Step 6: Finishing touches for the rubble
In a last step I painted a light beige to some bricks to simulate remaining plaster.
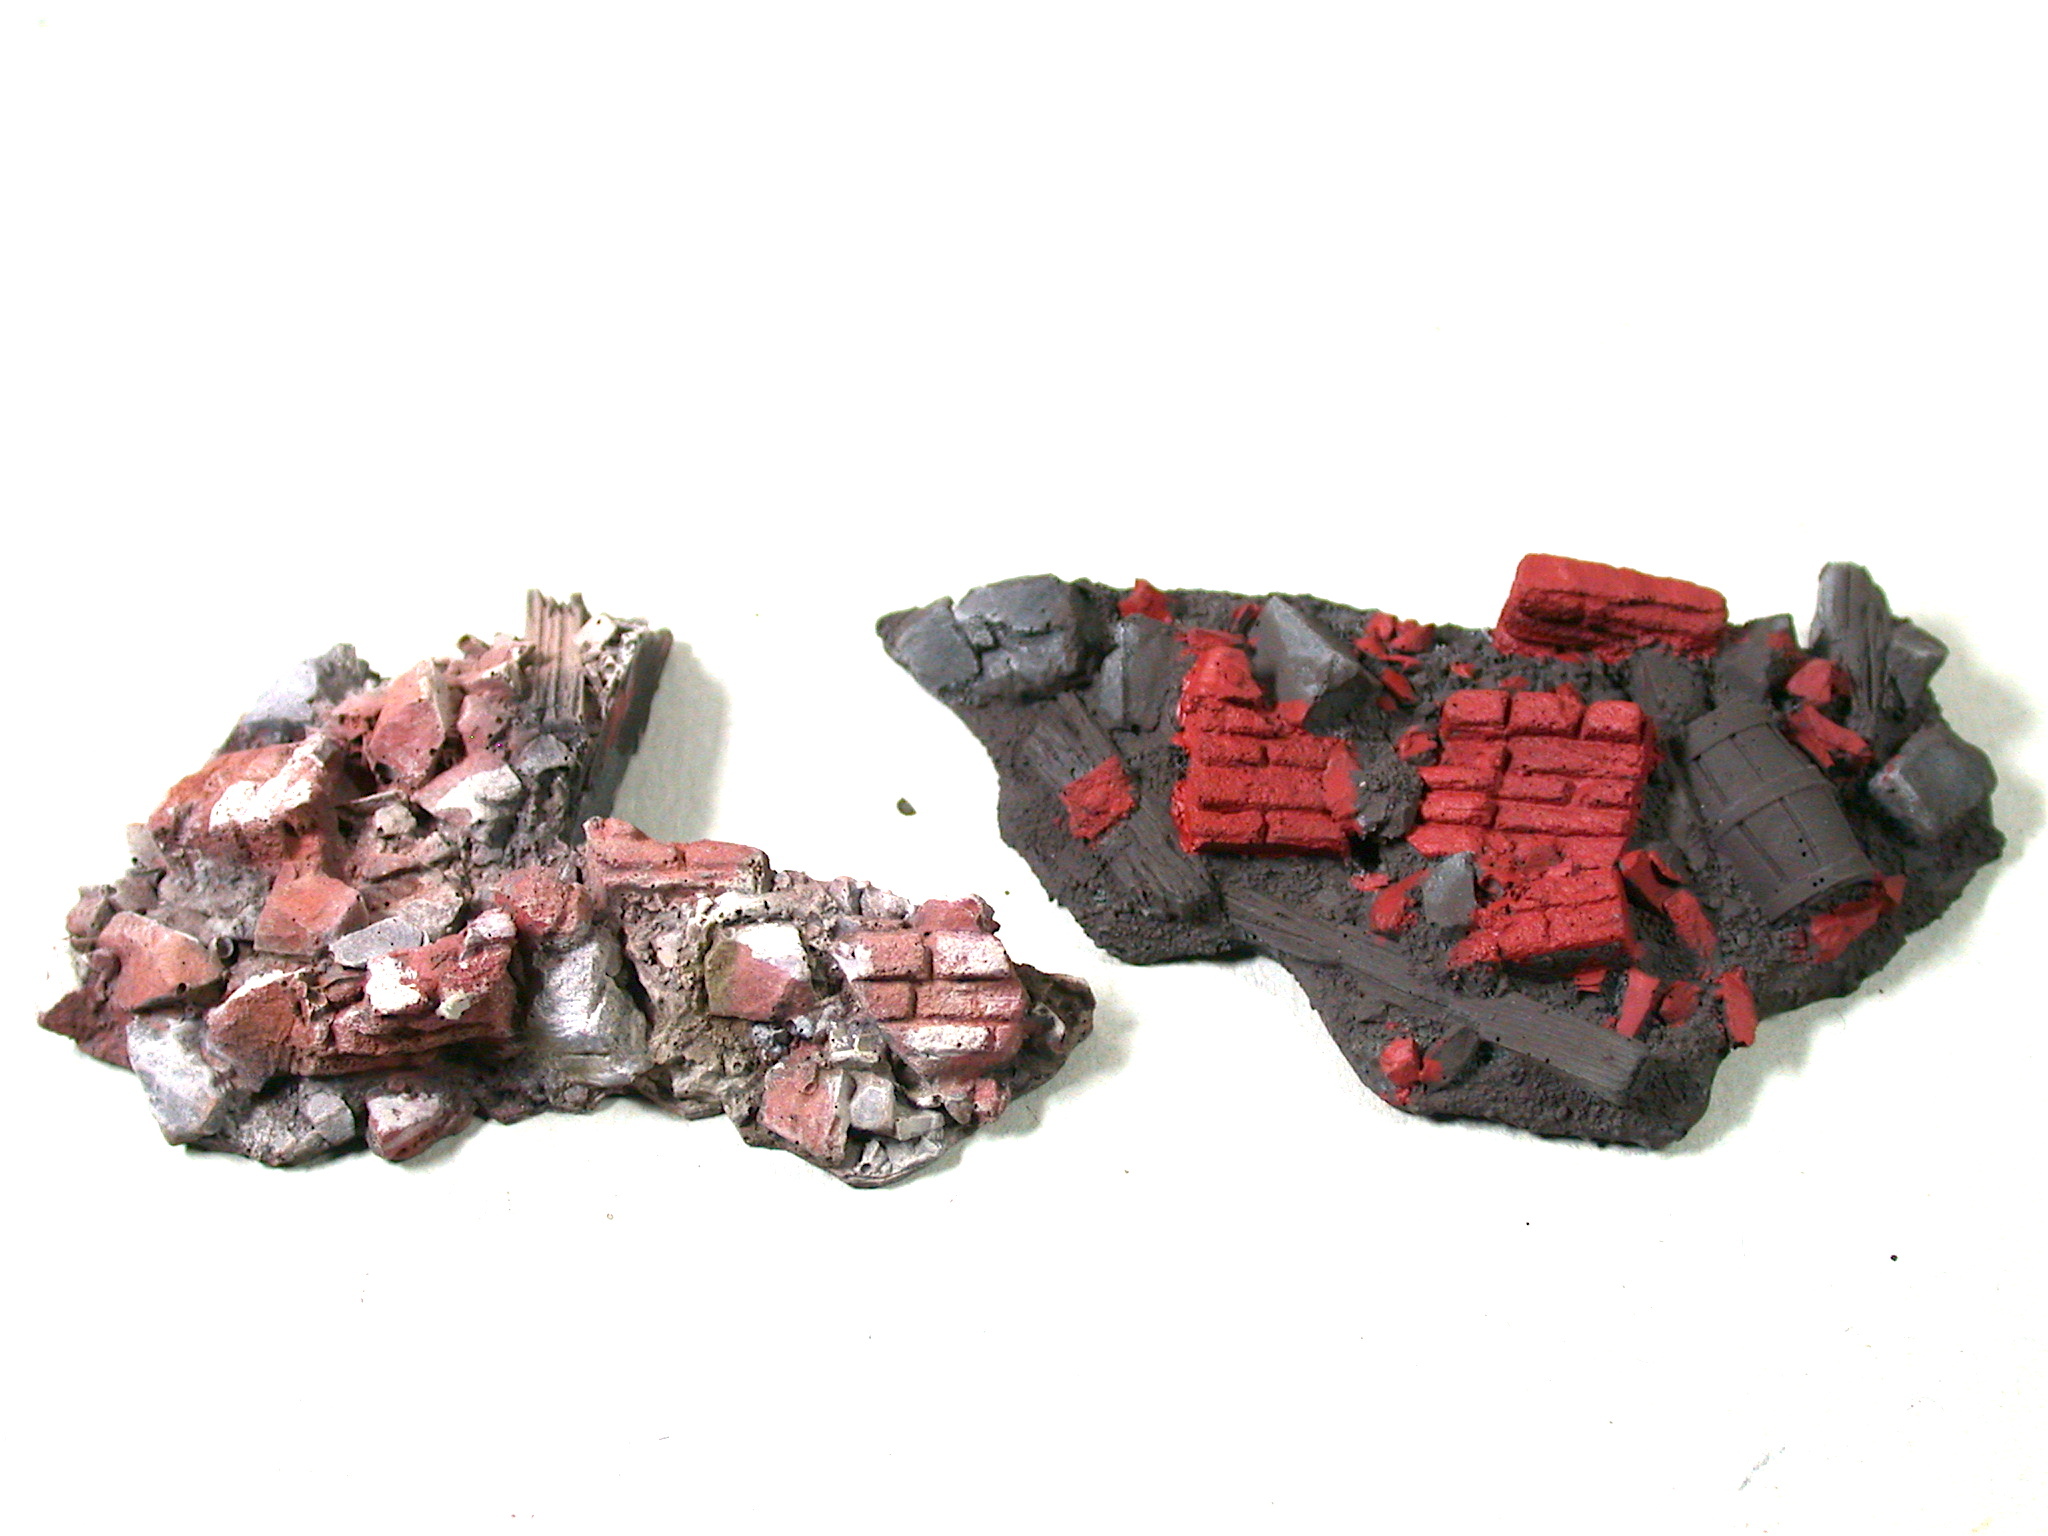
In the following picture you ca see the difference between a piece of rubble just painted with the basecolours and a finished piece.
Important hint: The step of the neat applying of the base colours needs more time and more accuracy than the next step of drybrushing with paints and dry pigments. Those of you who haven't tried working with dry pigments for terrain pieces I don't can recommend this technic enough - give it a try and the results will be better and faster than before.
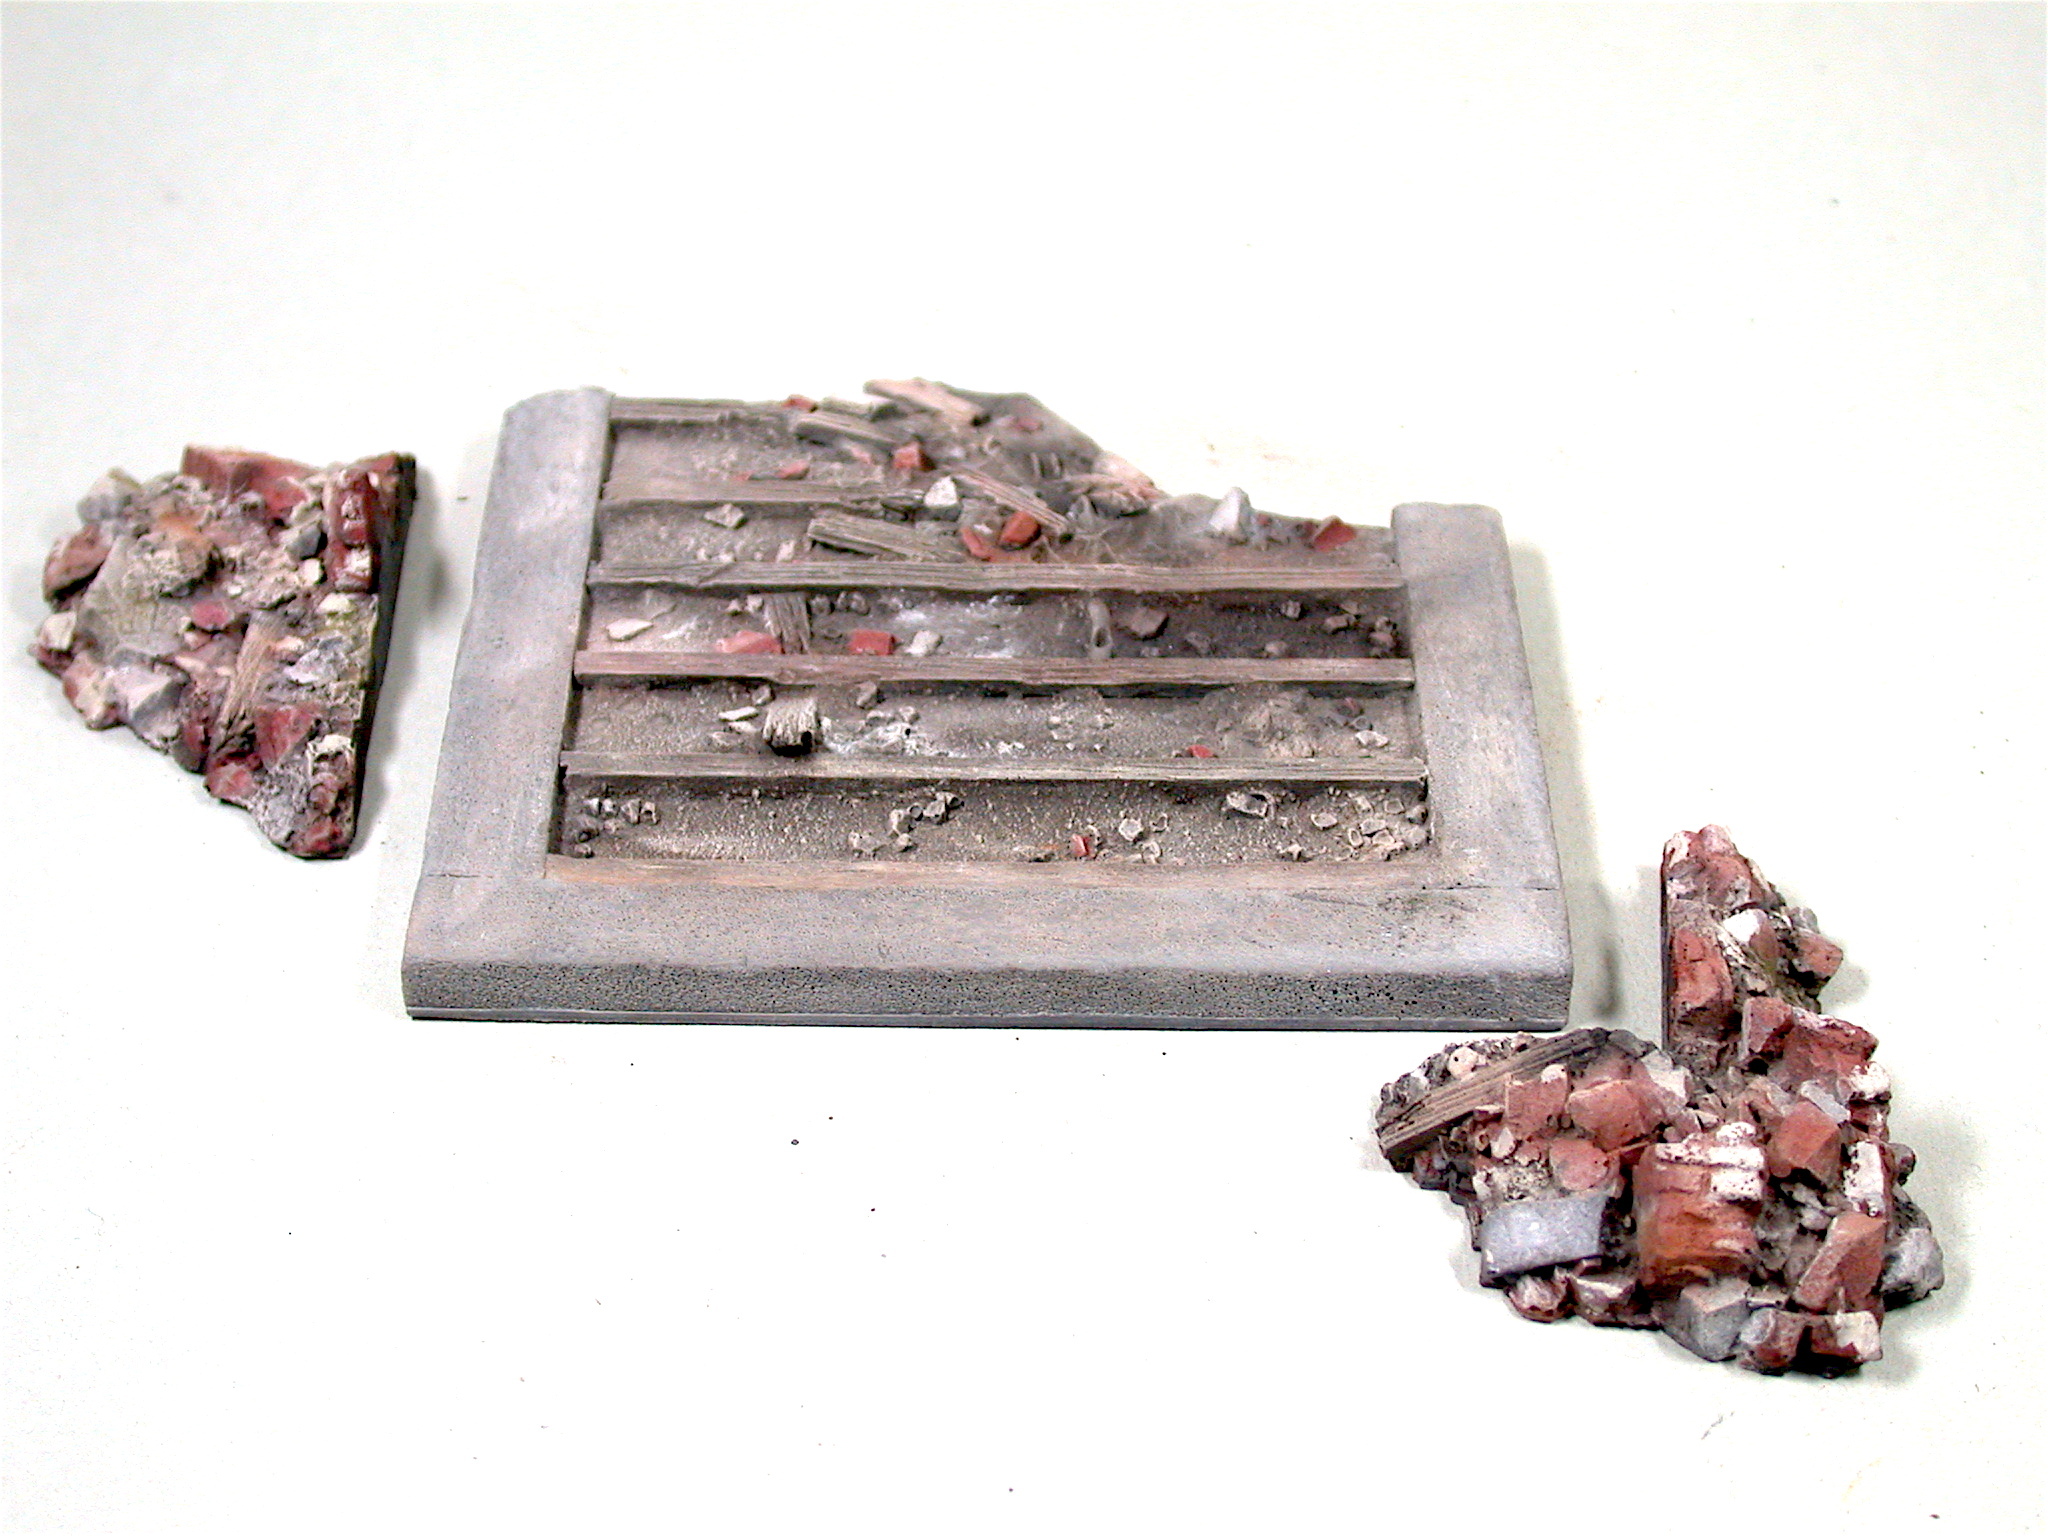
Step 7: The Base
The base was painted using the same colours and painting technics as described for the rubble.
That was the final step. I hope you enjojed reading the tutorial and found it helpful.
If you have any questions left just send me an email.
Elmar
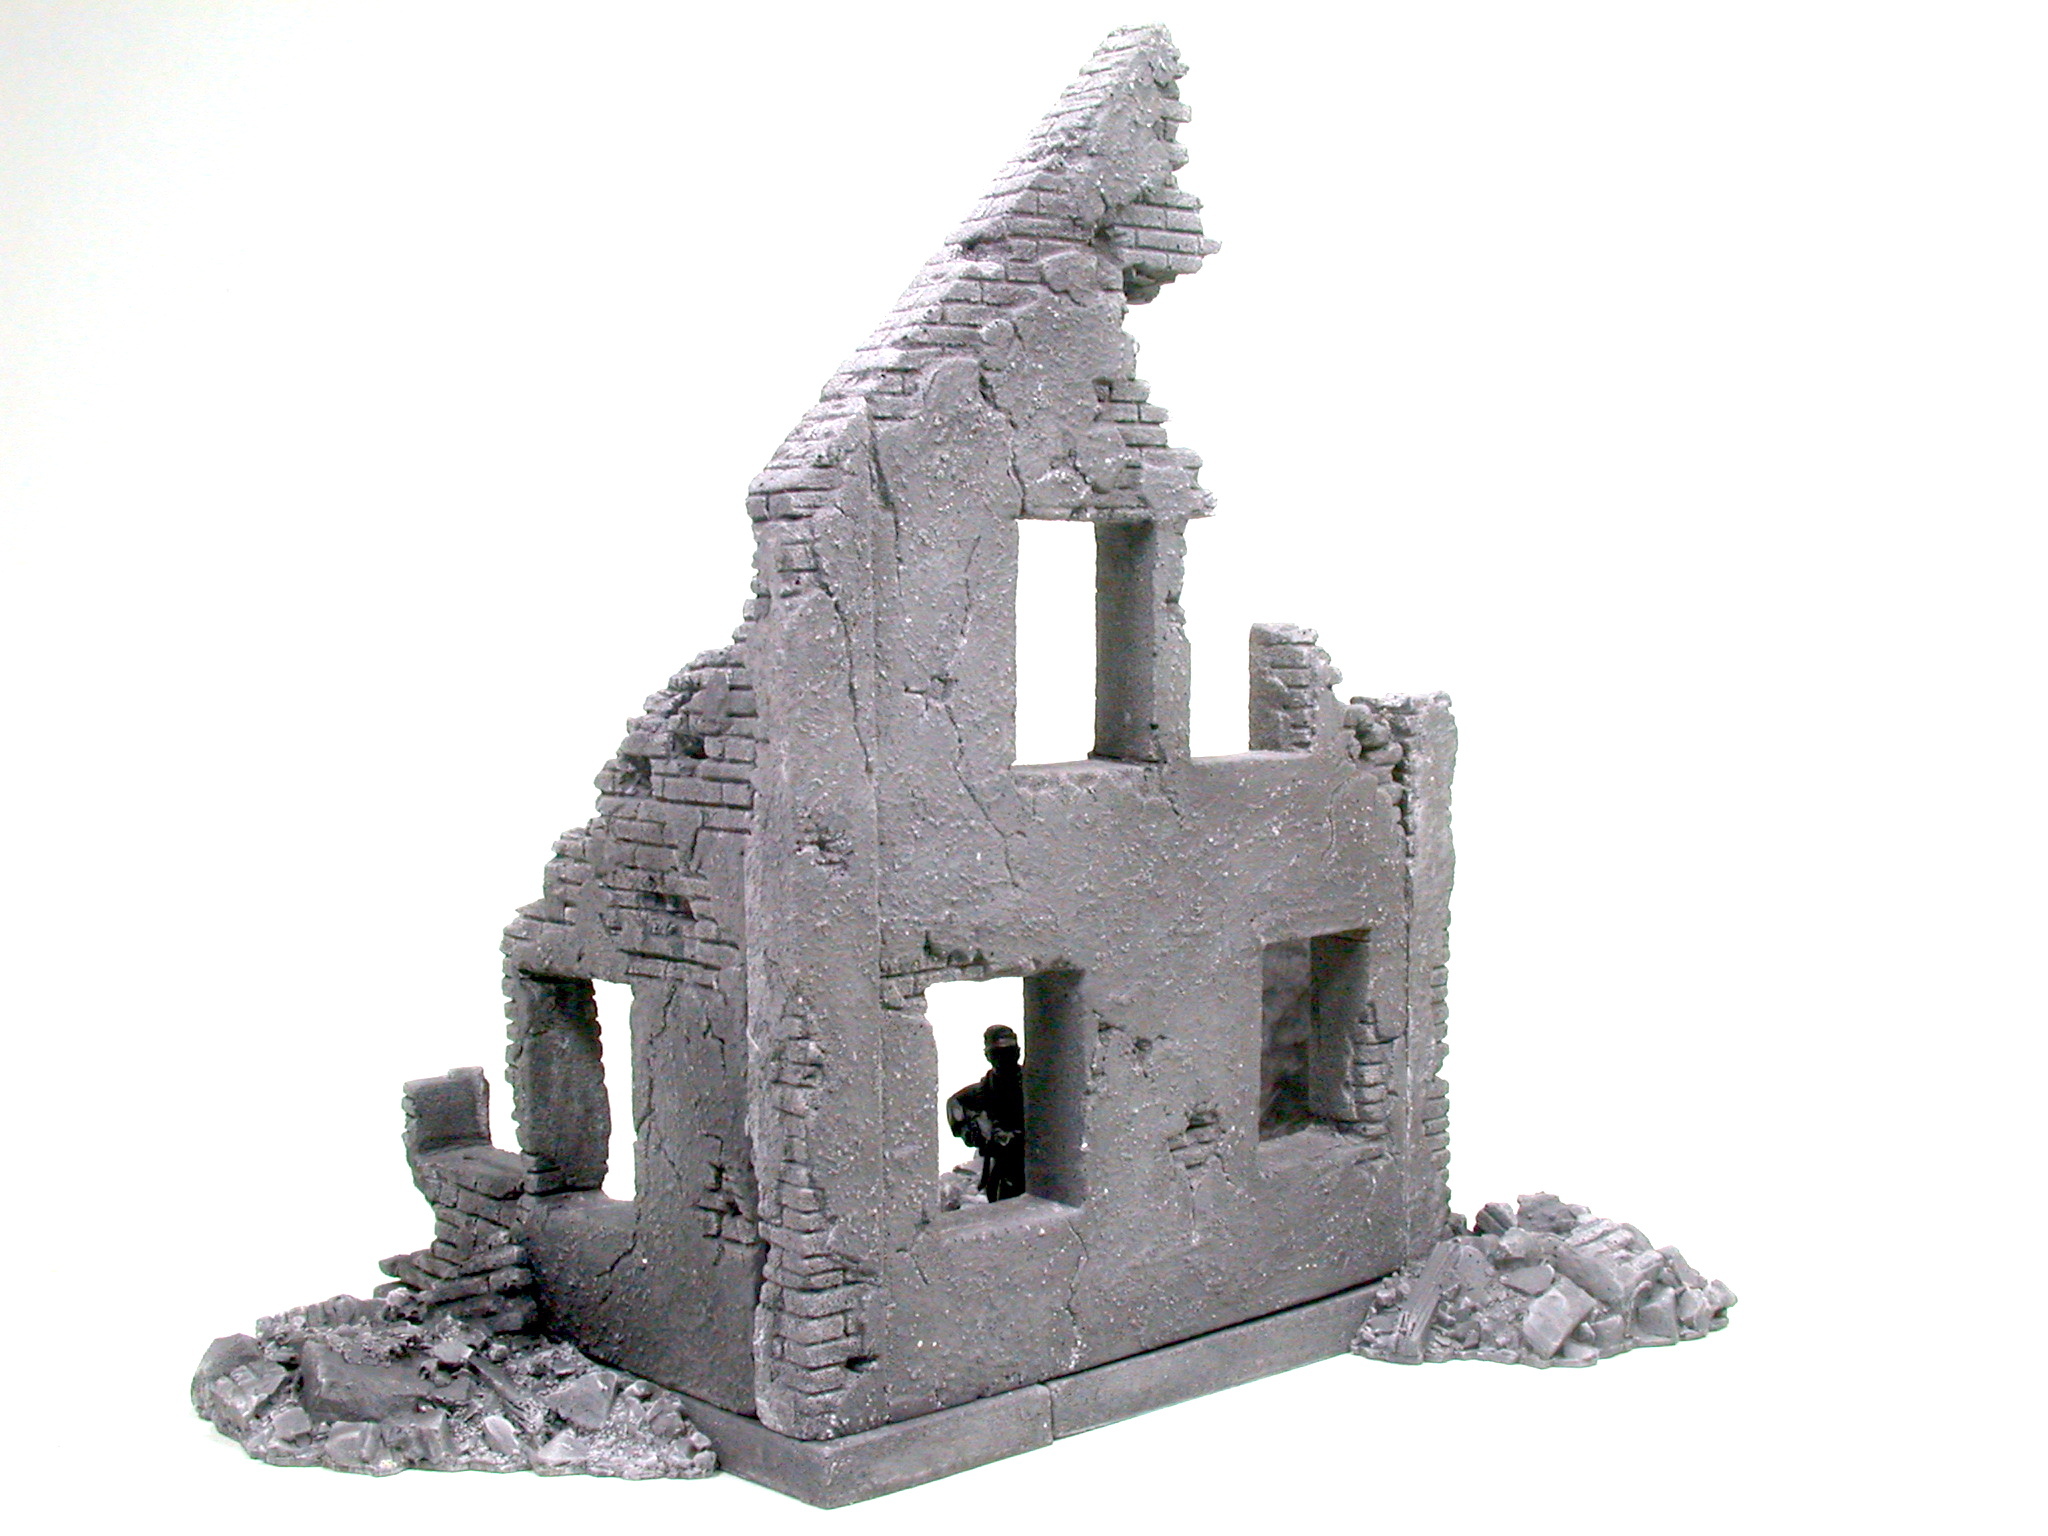
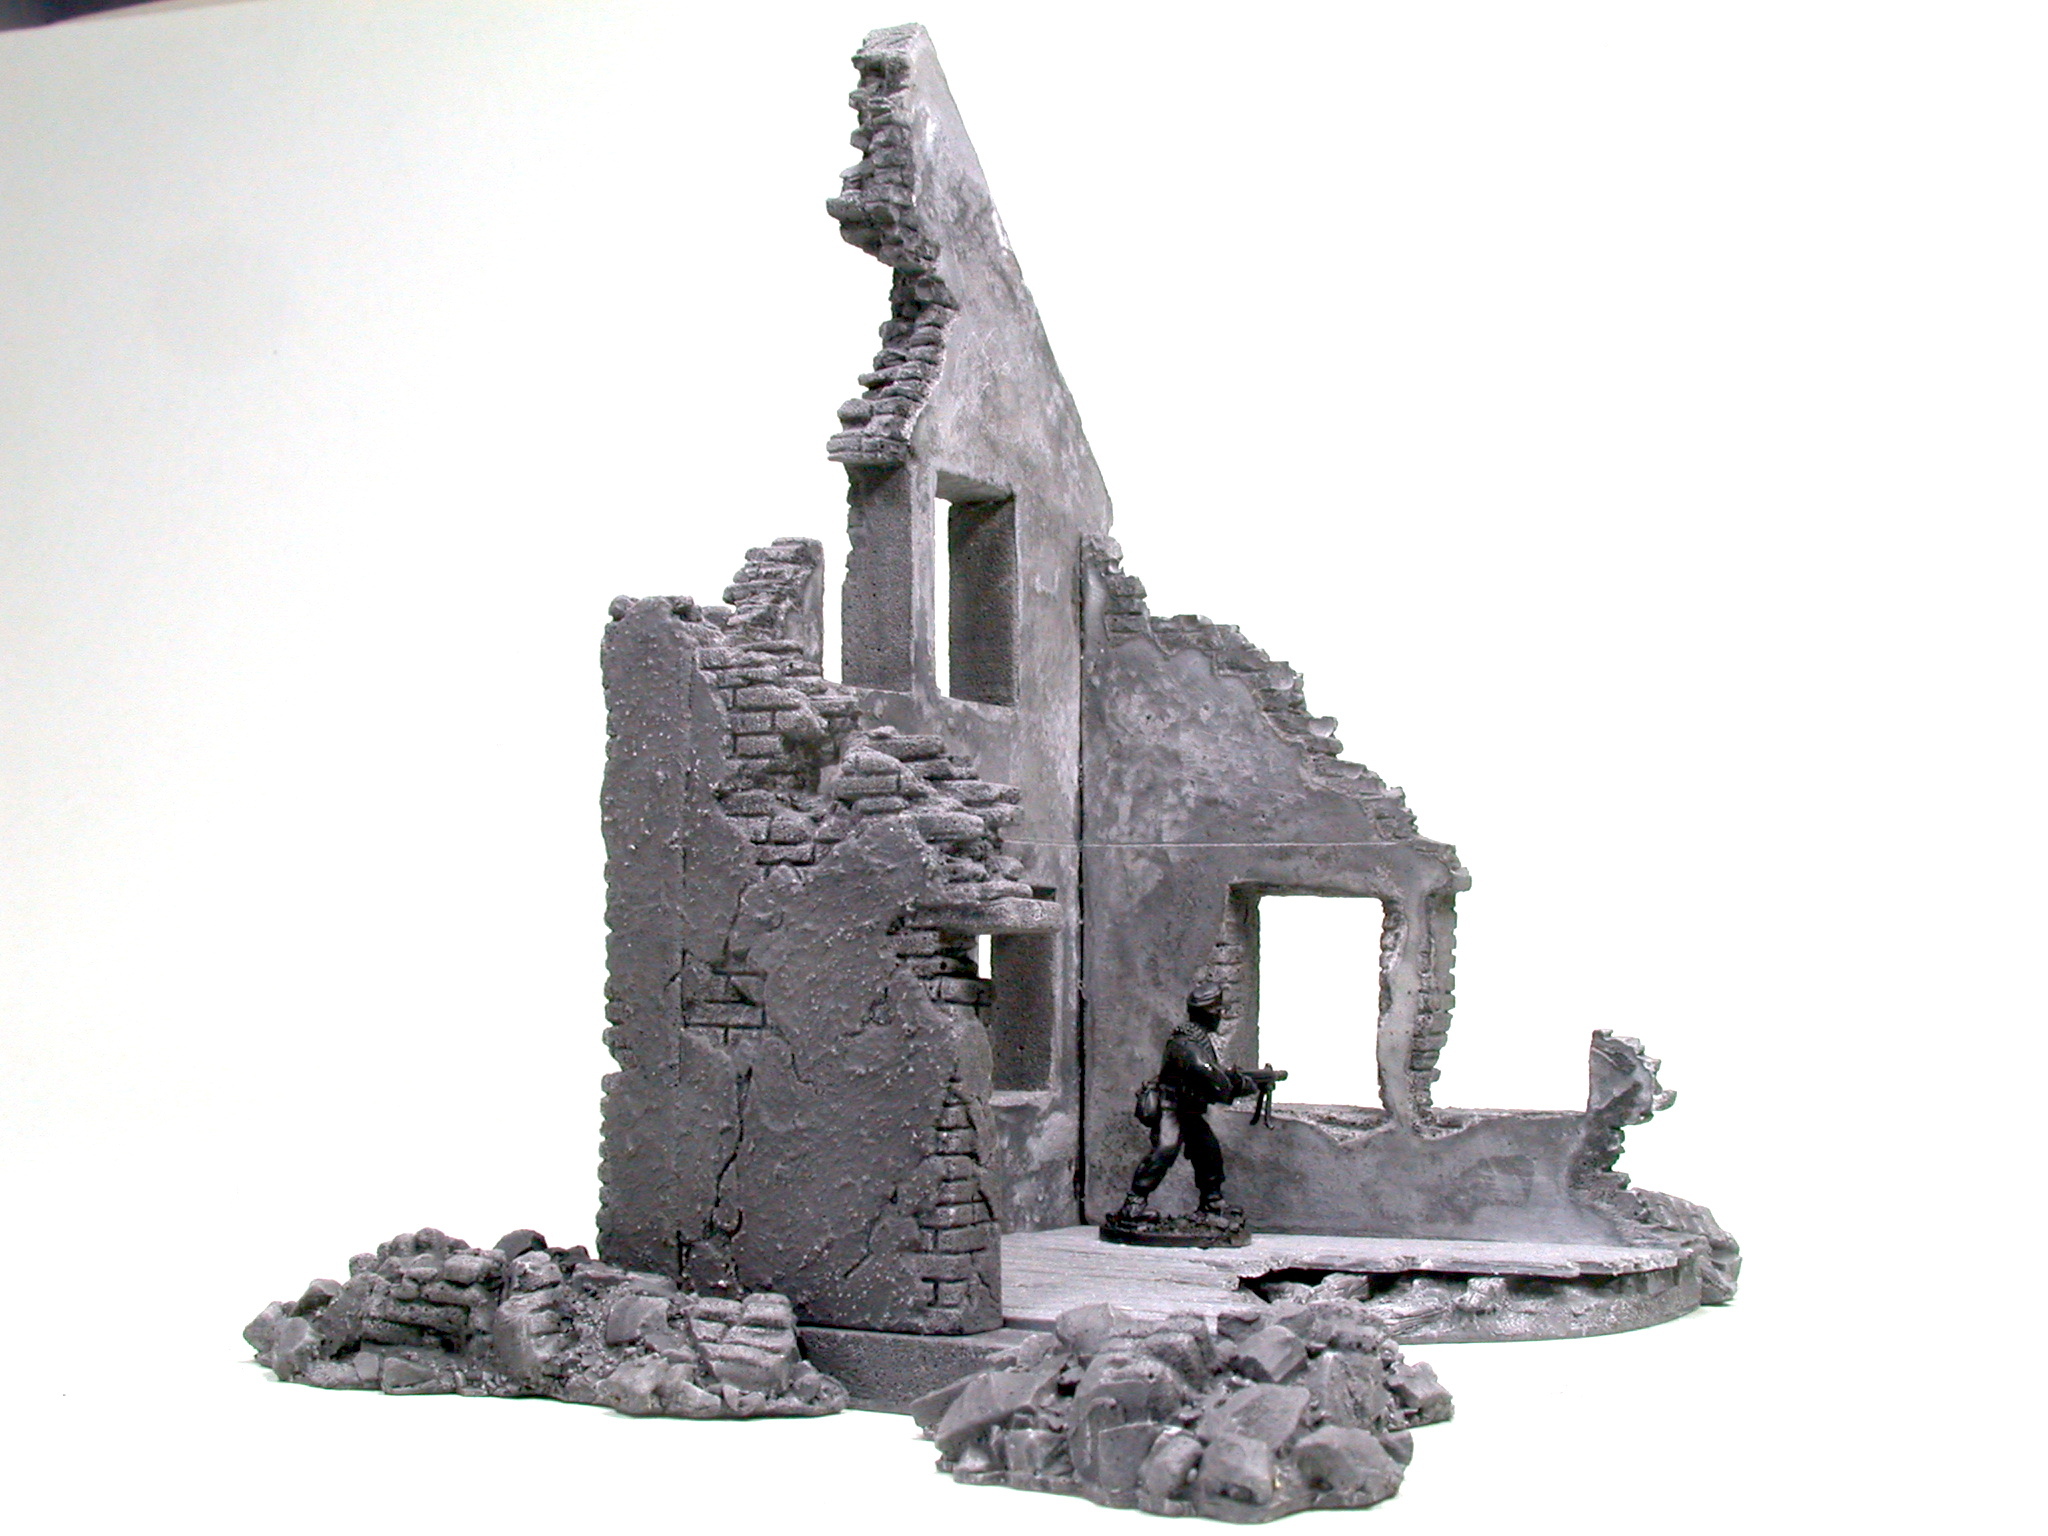
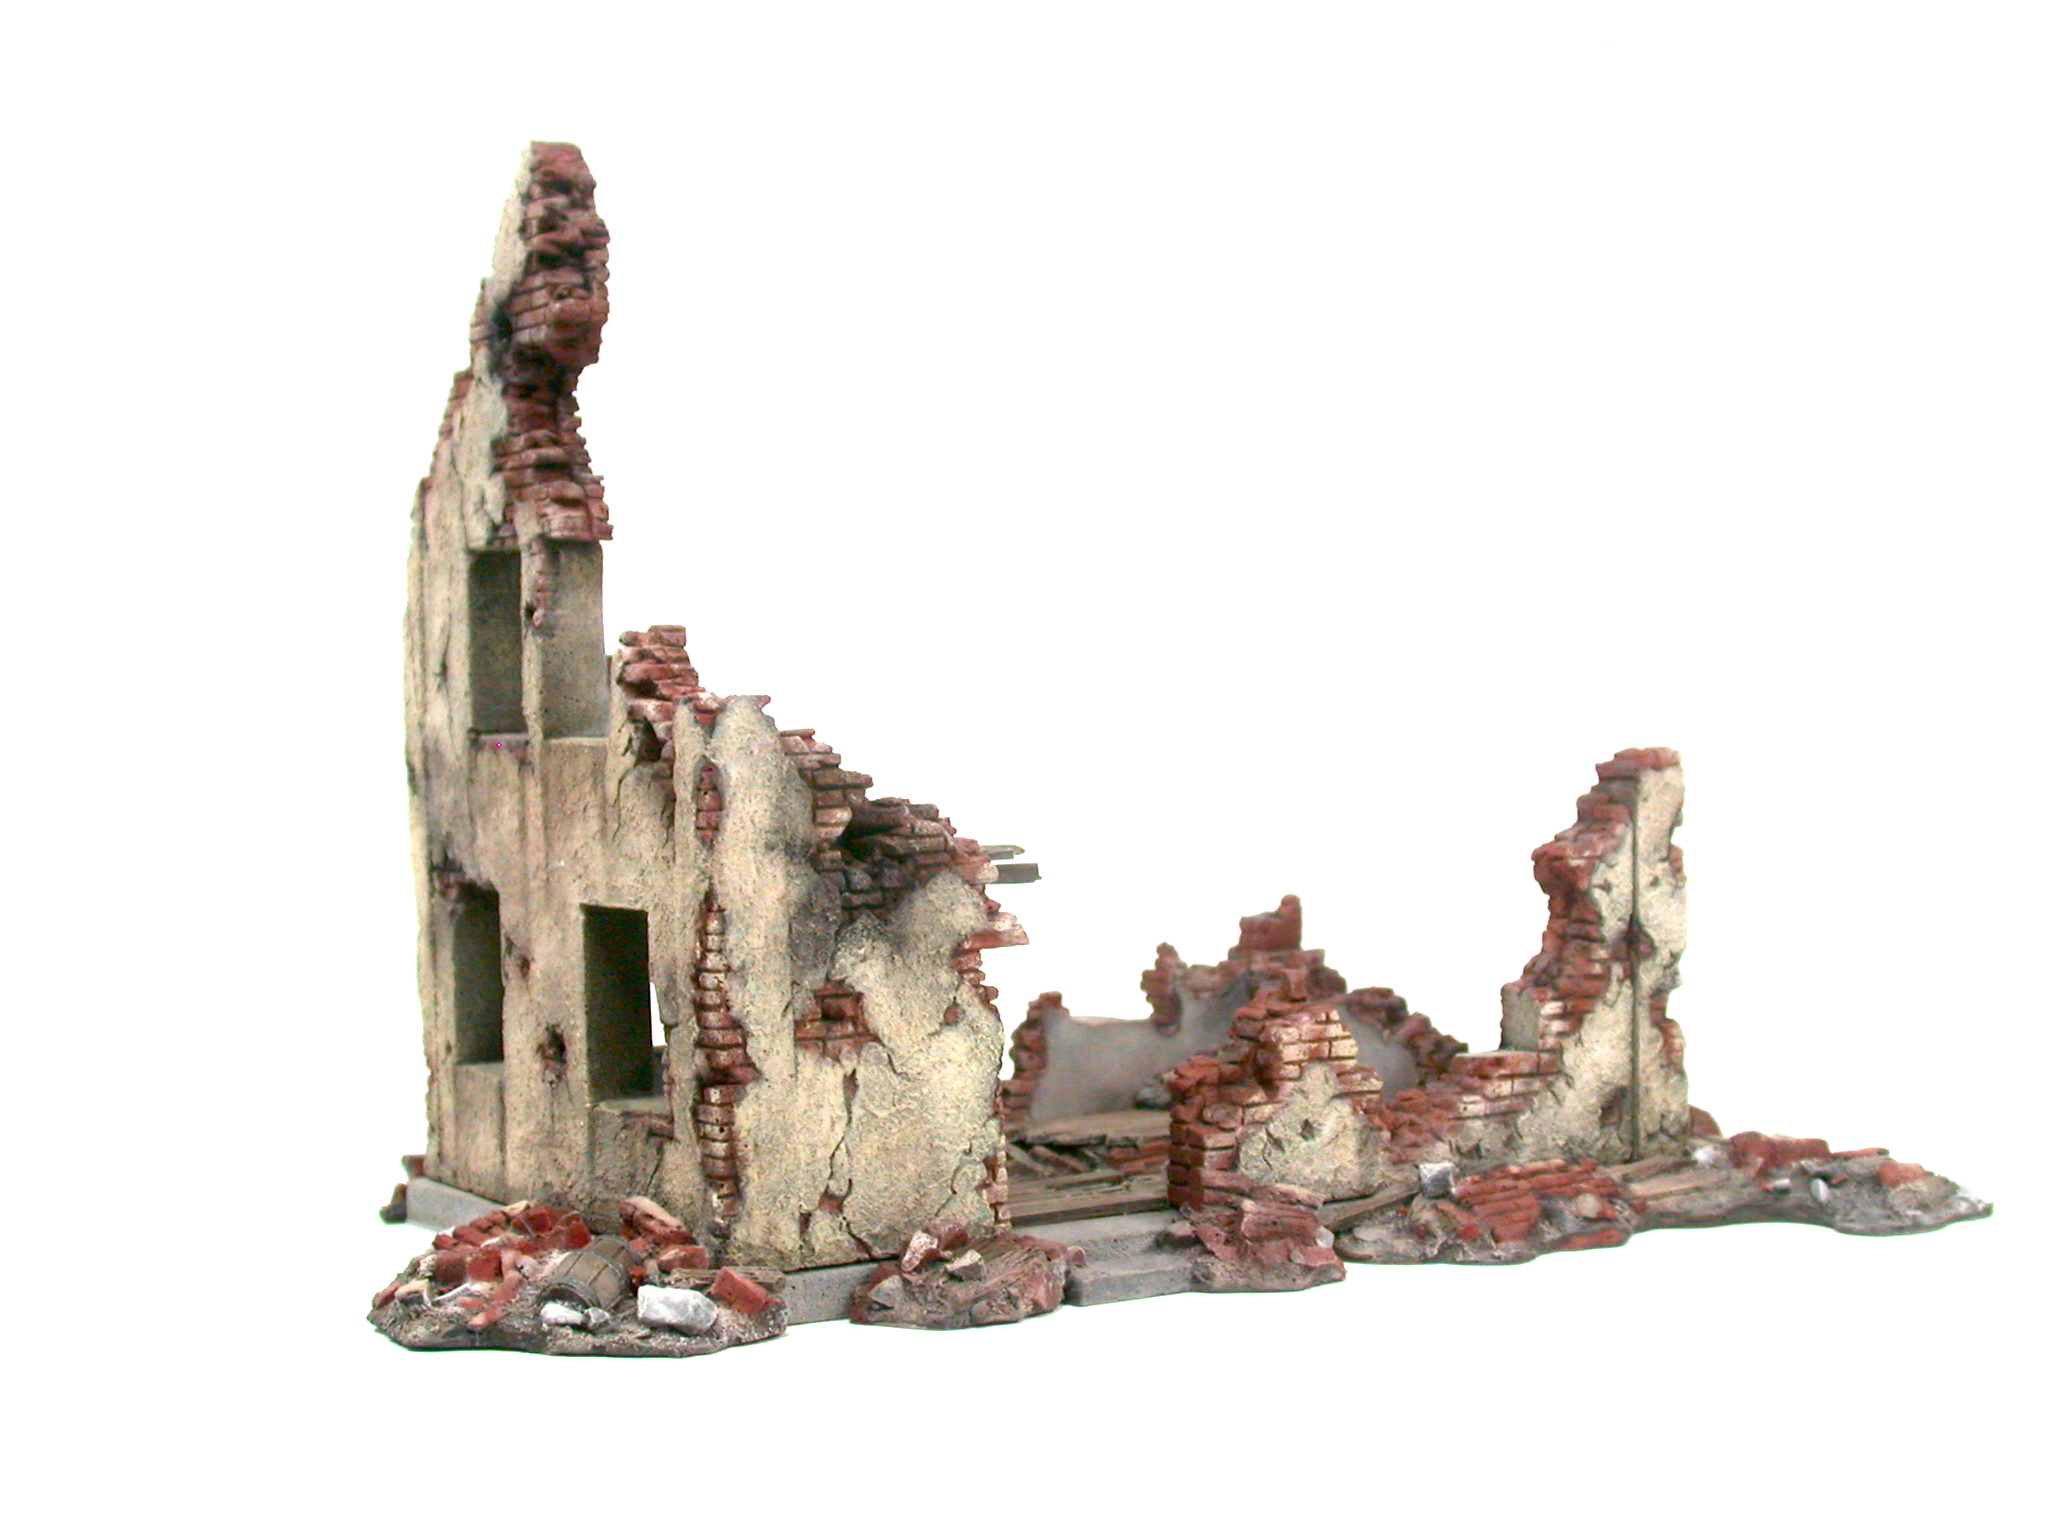
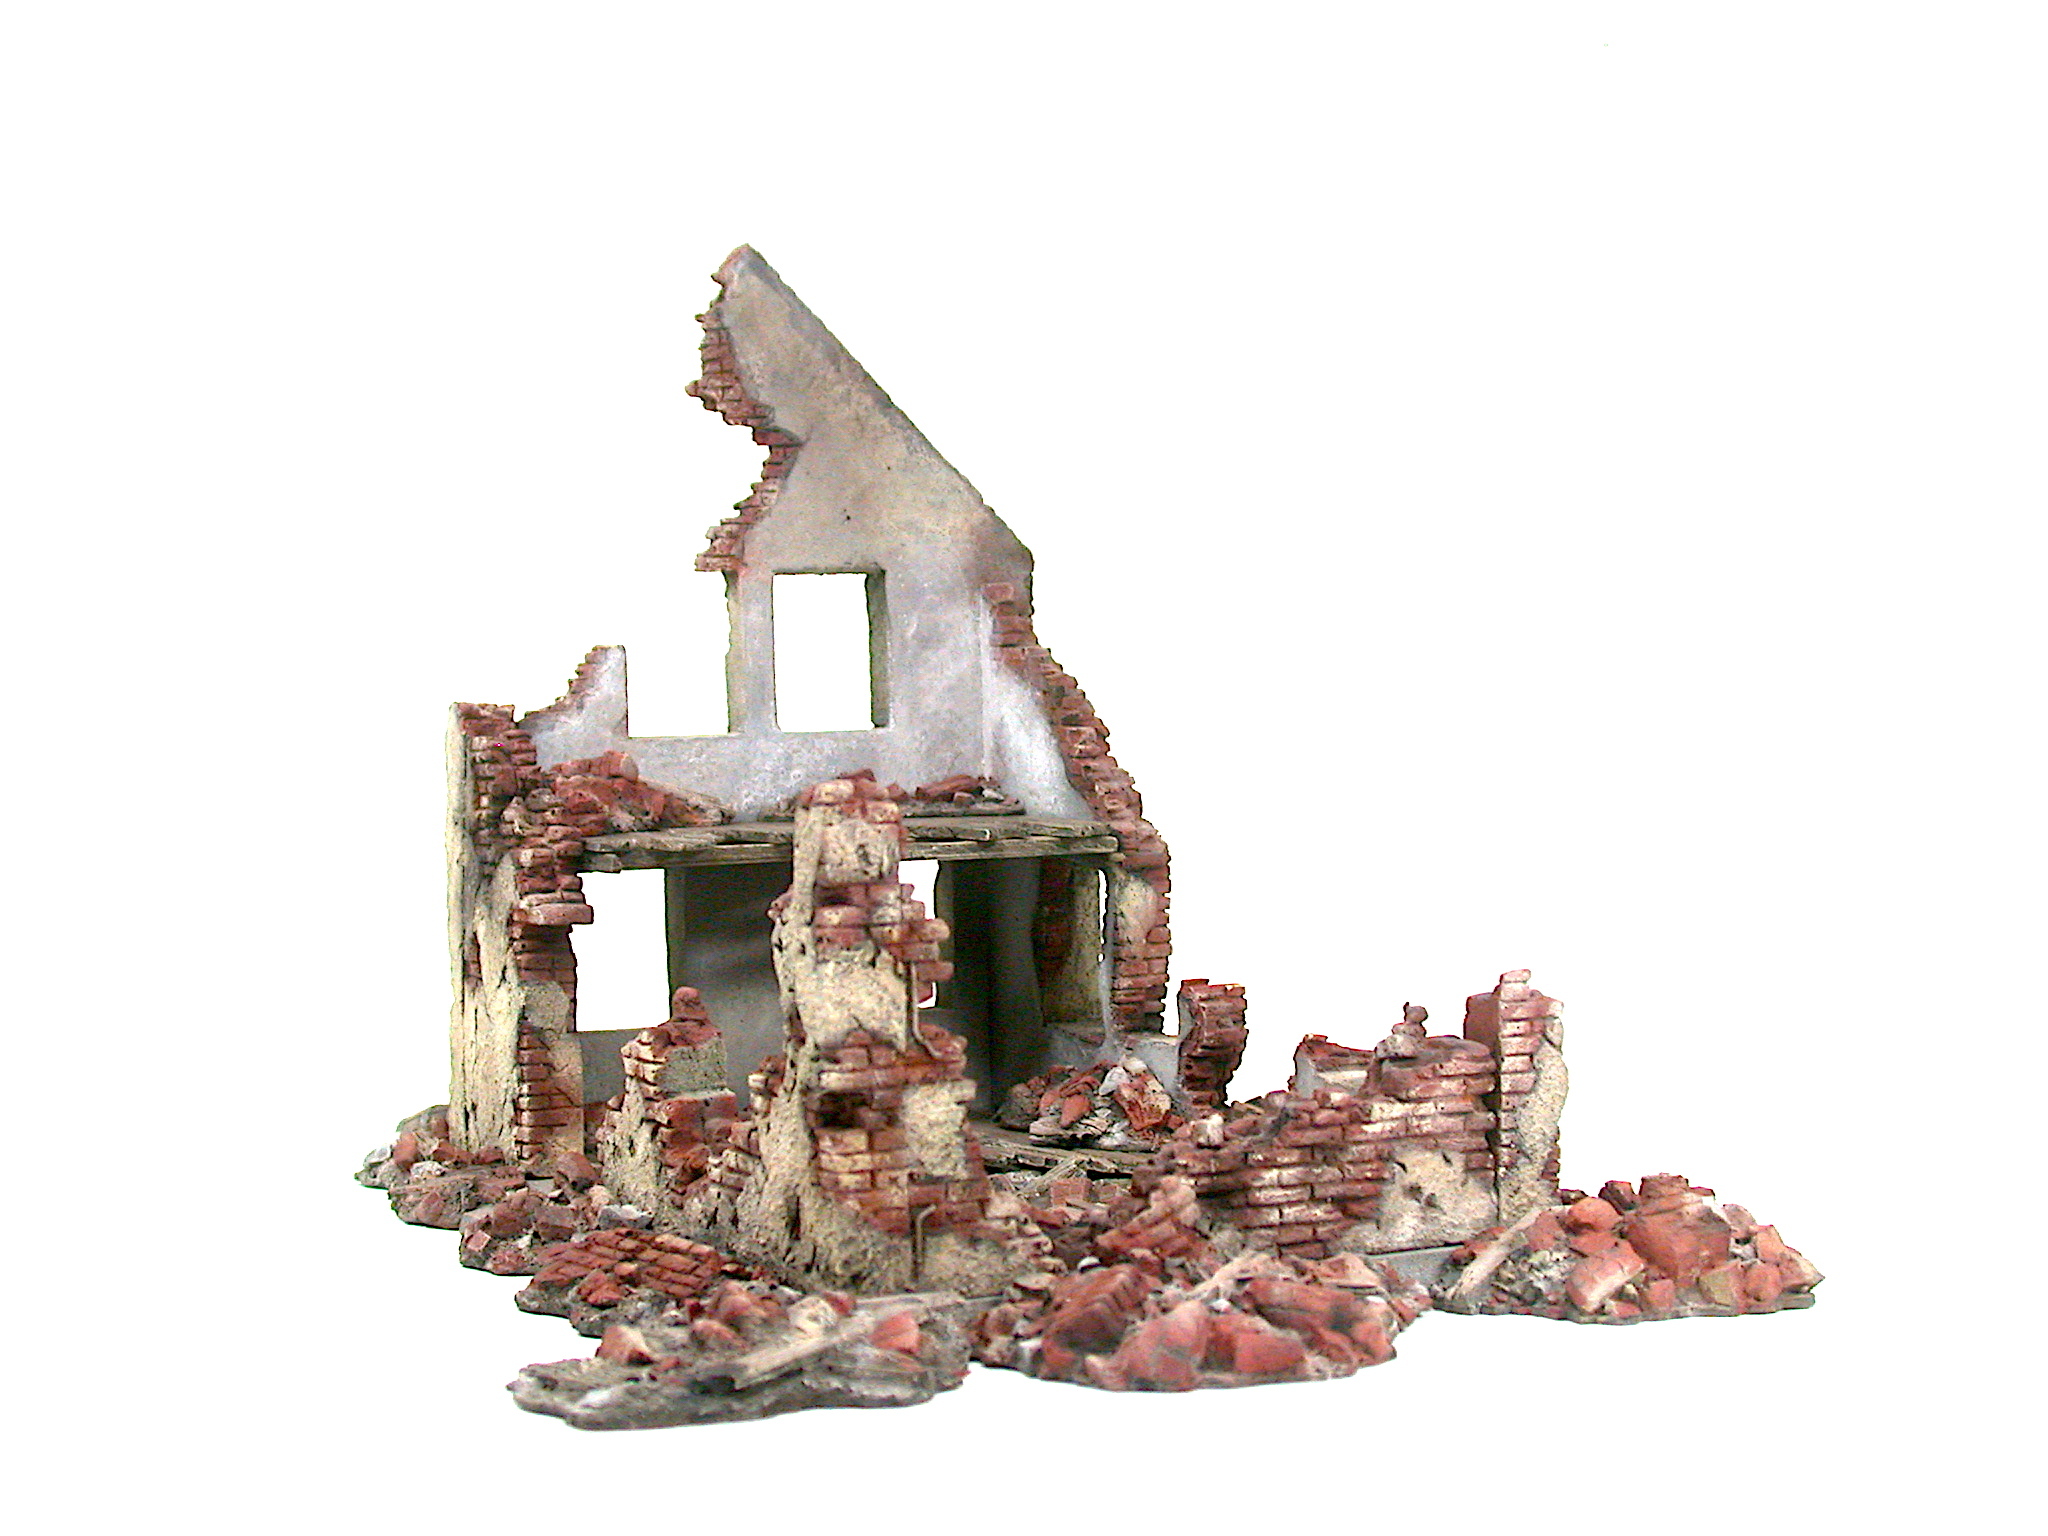
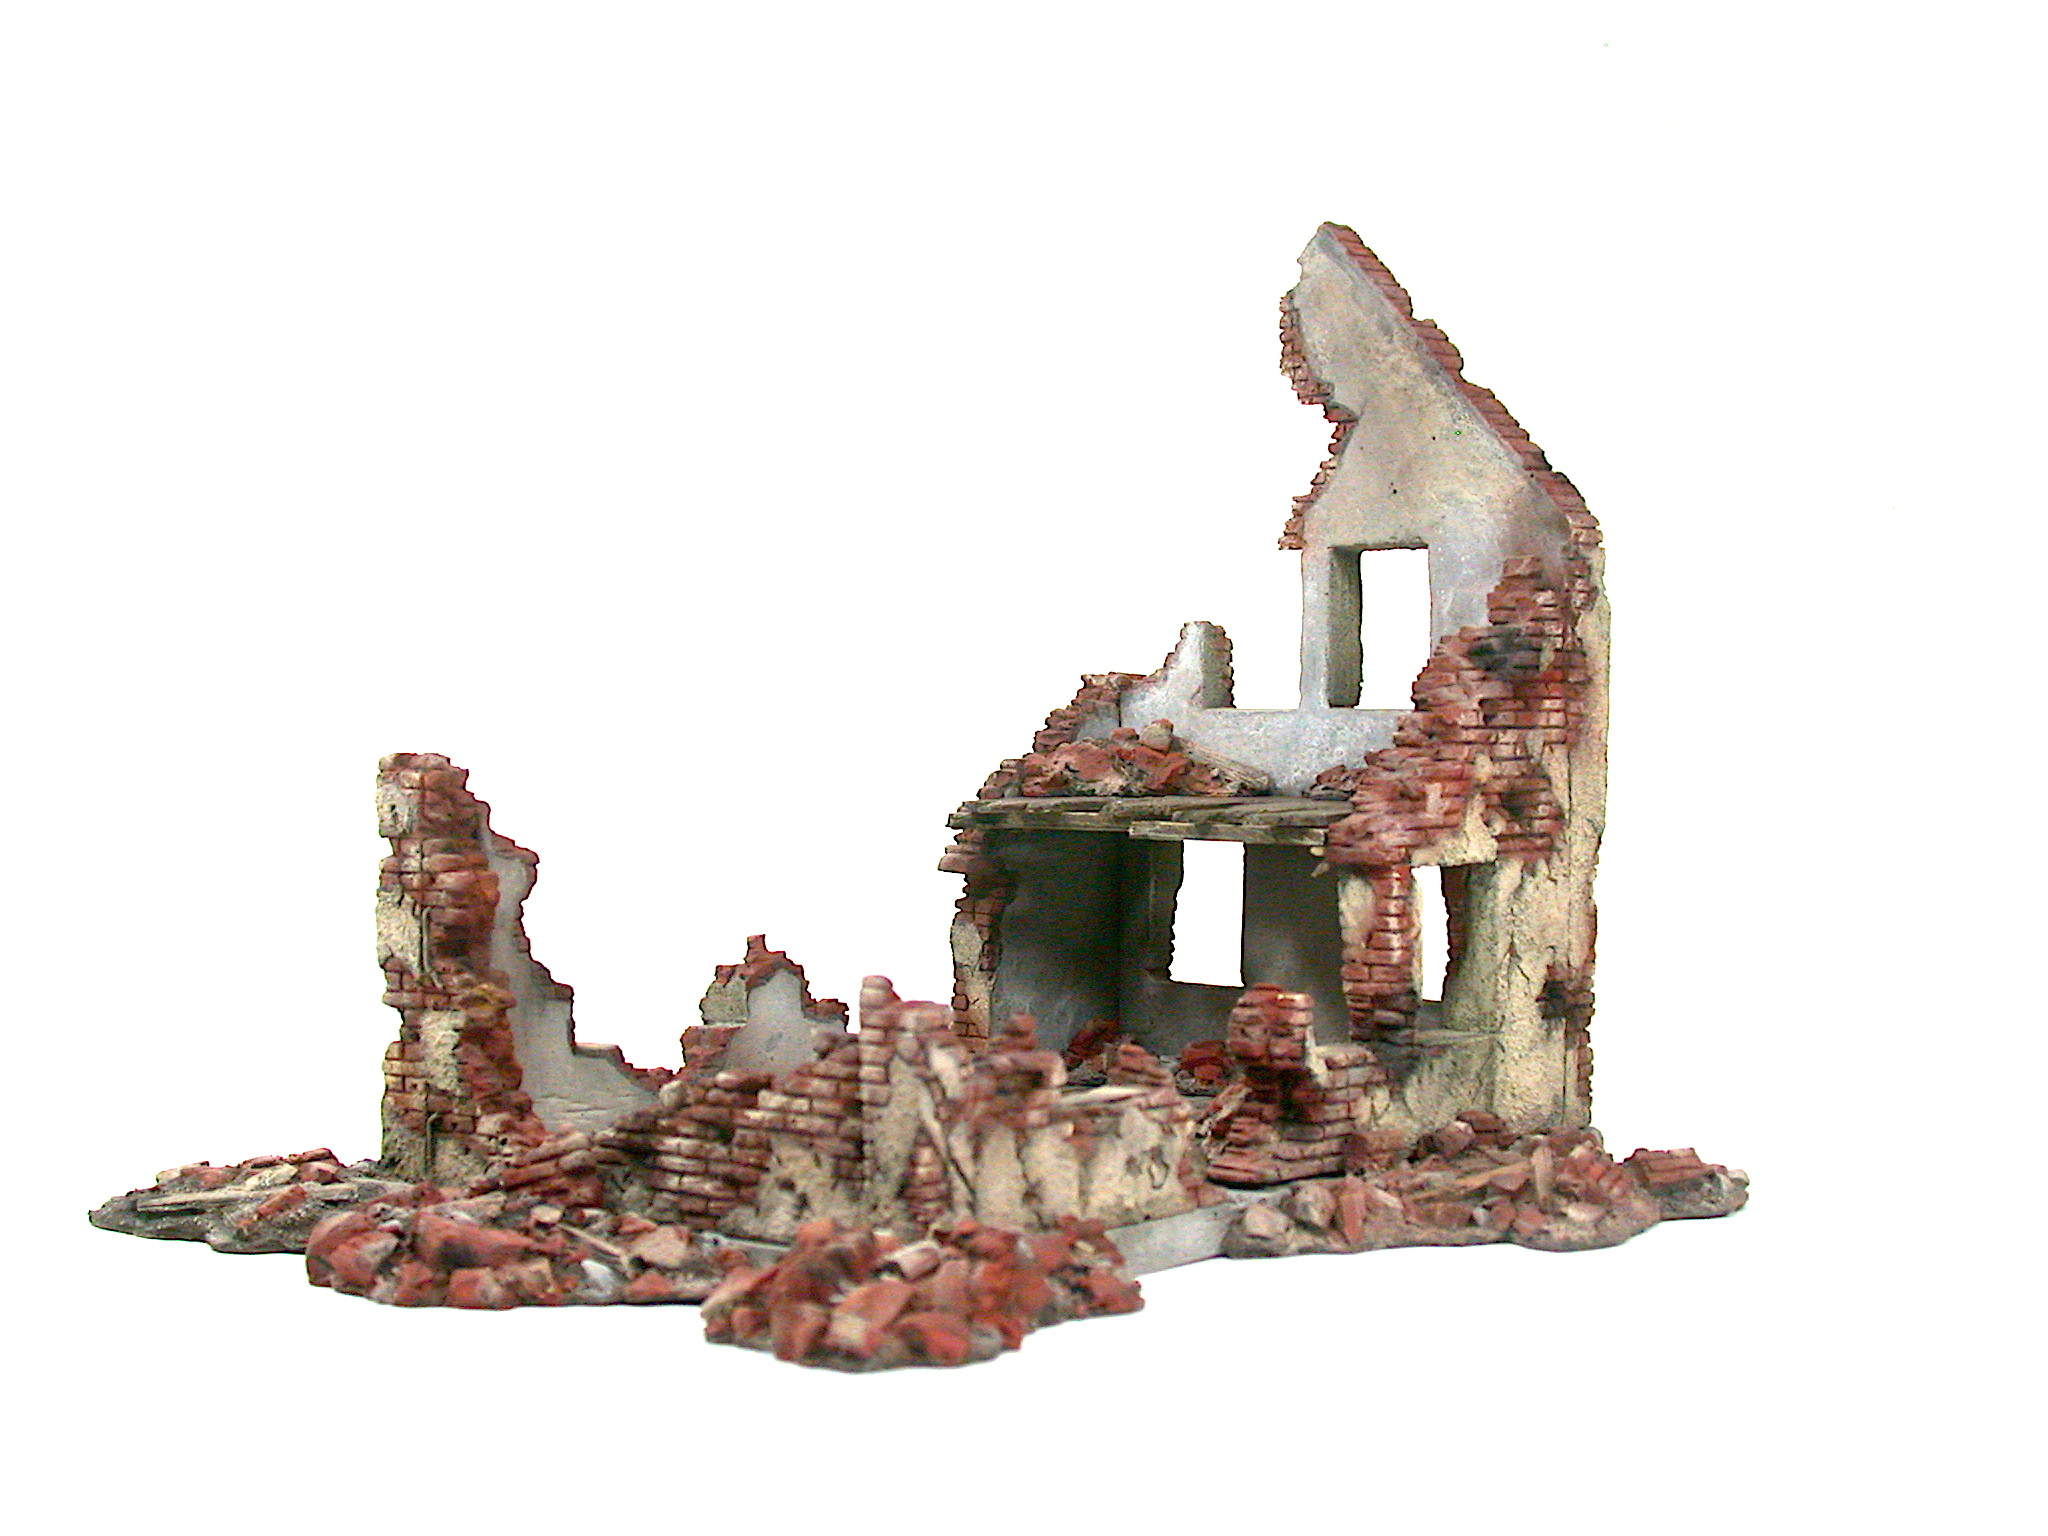
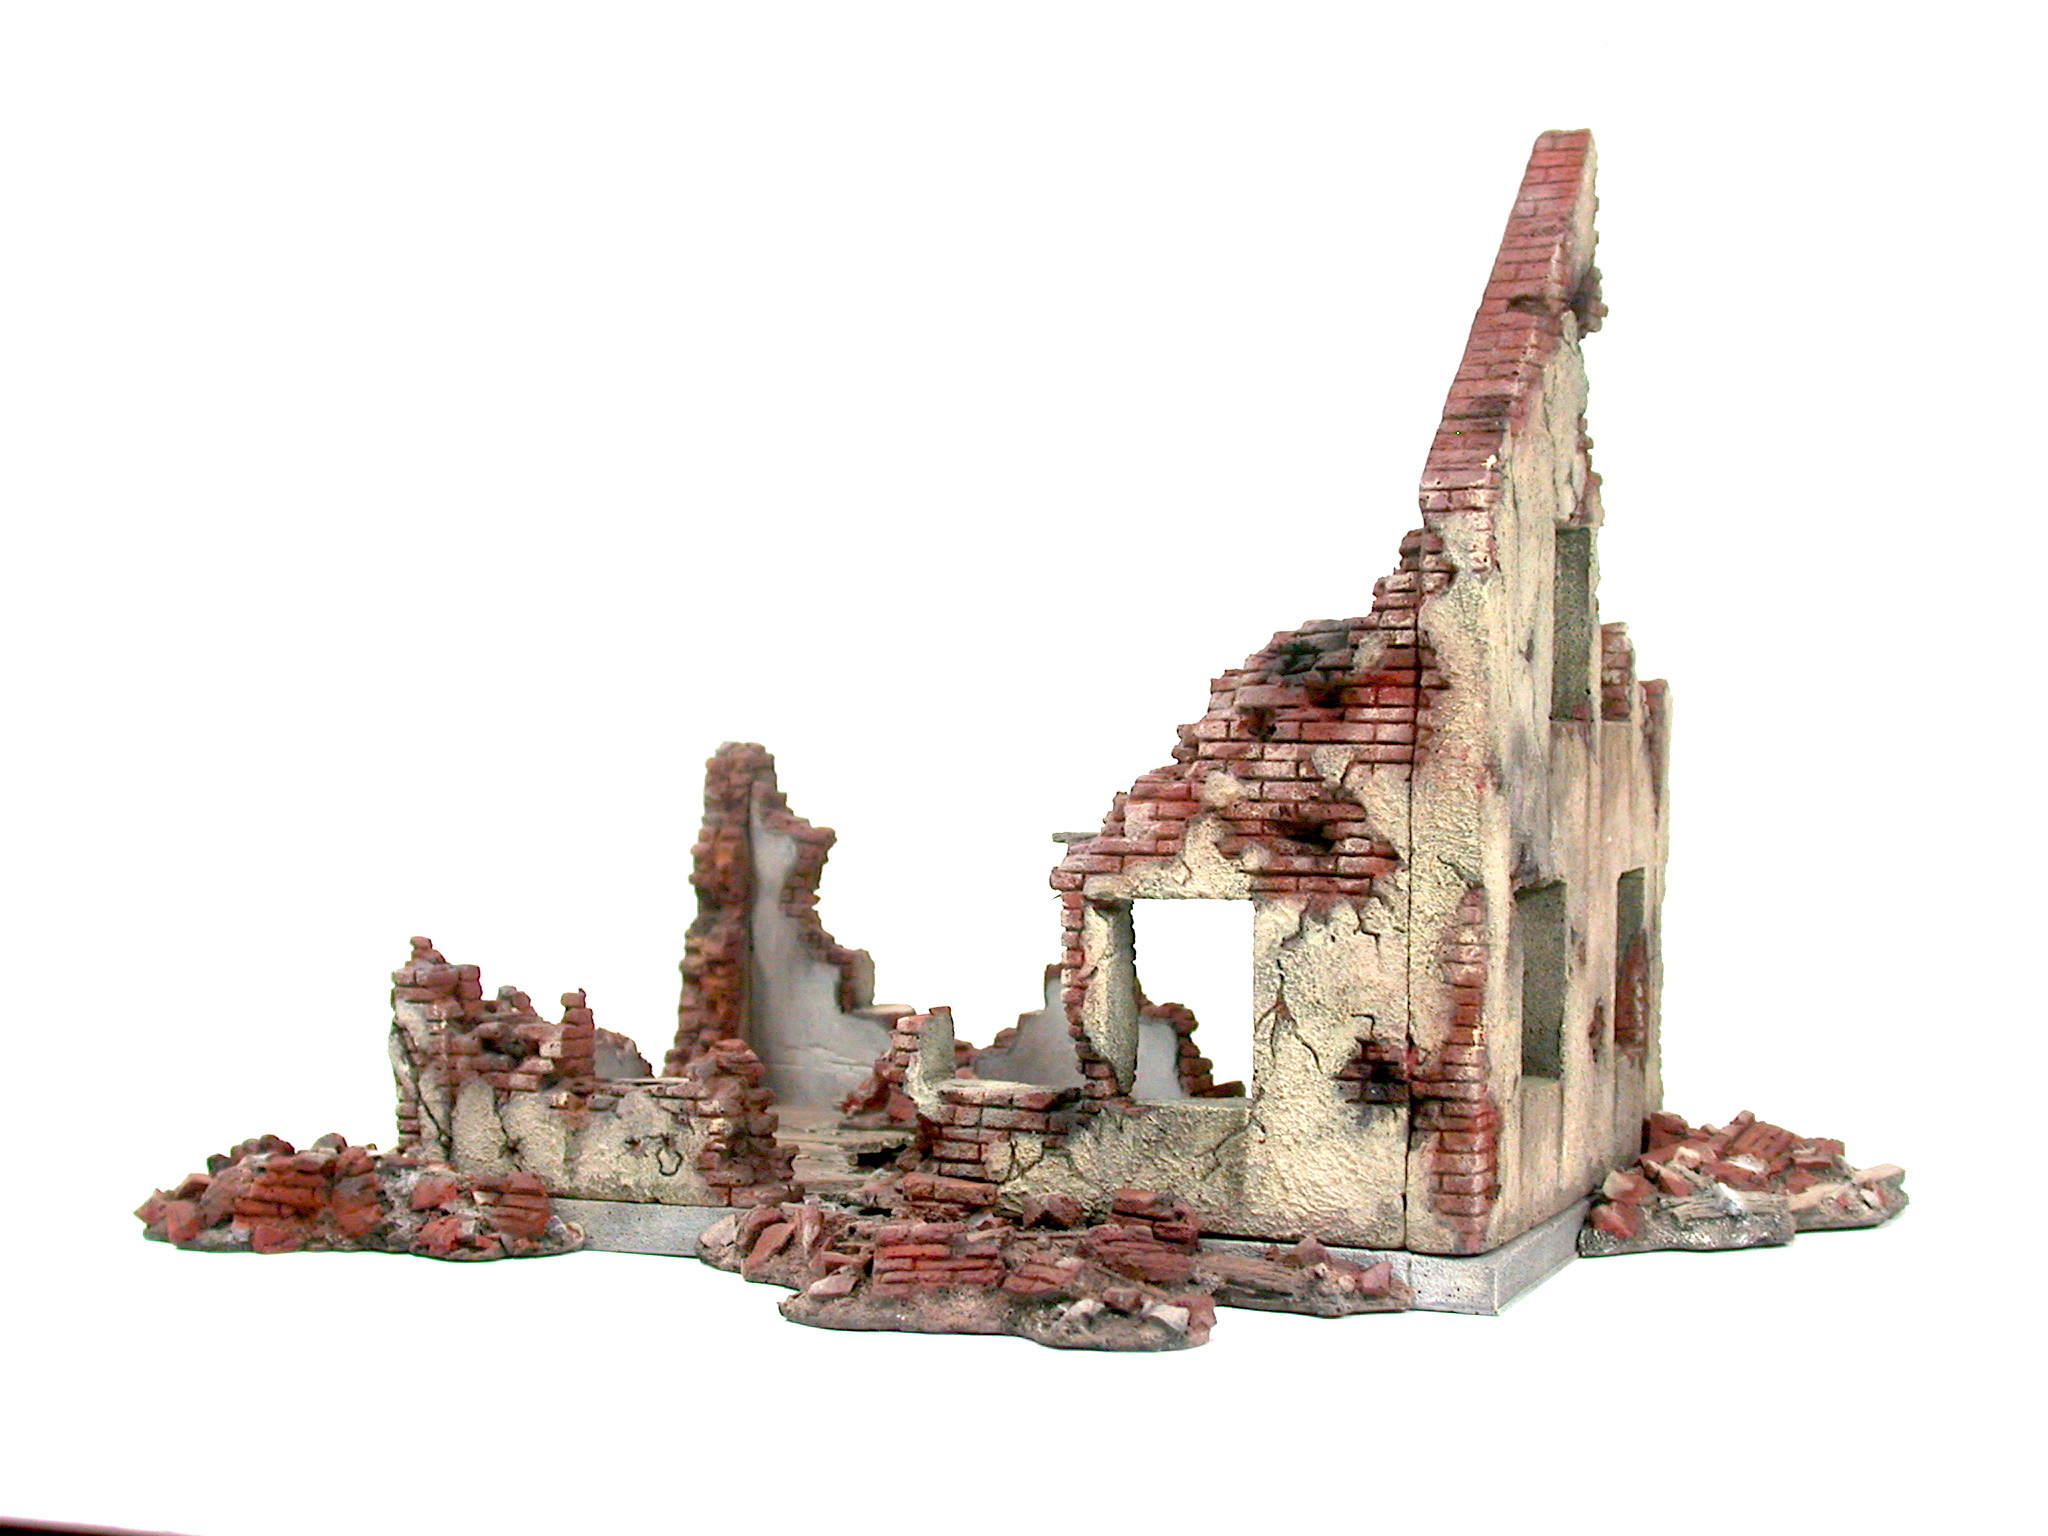
And here come some more pictures of the finished piece:
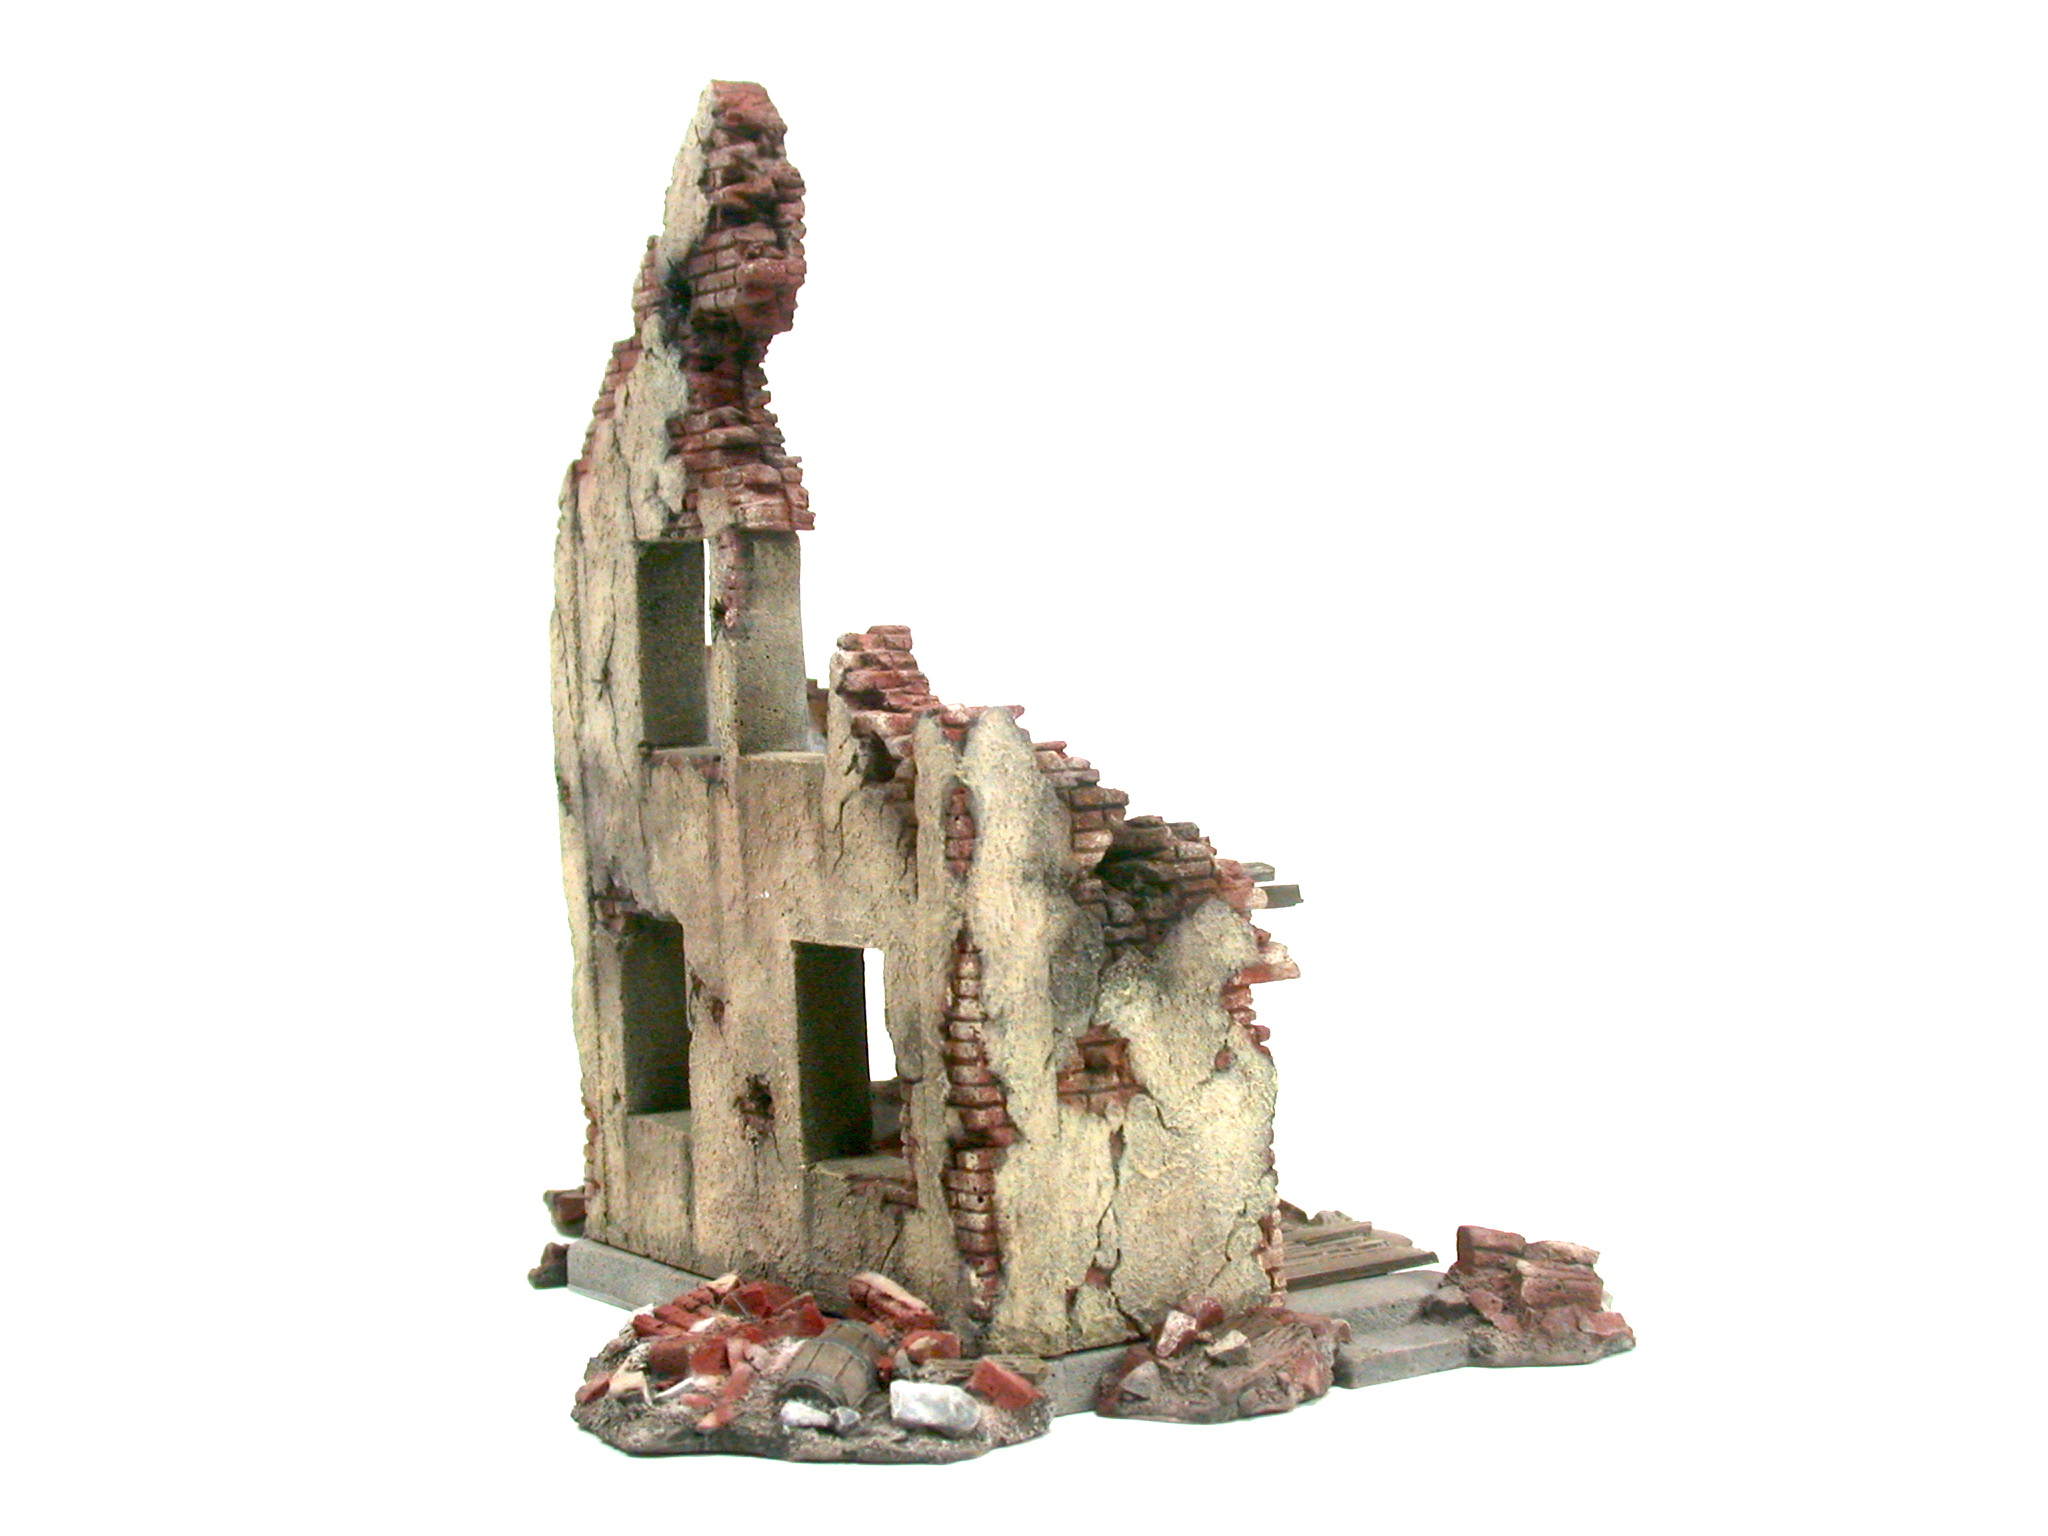
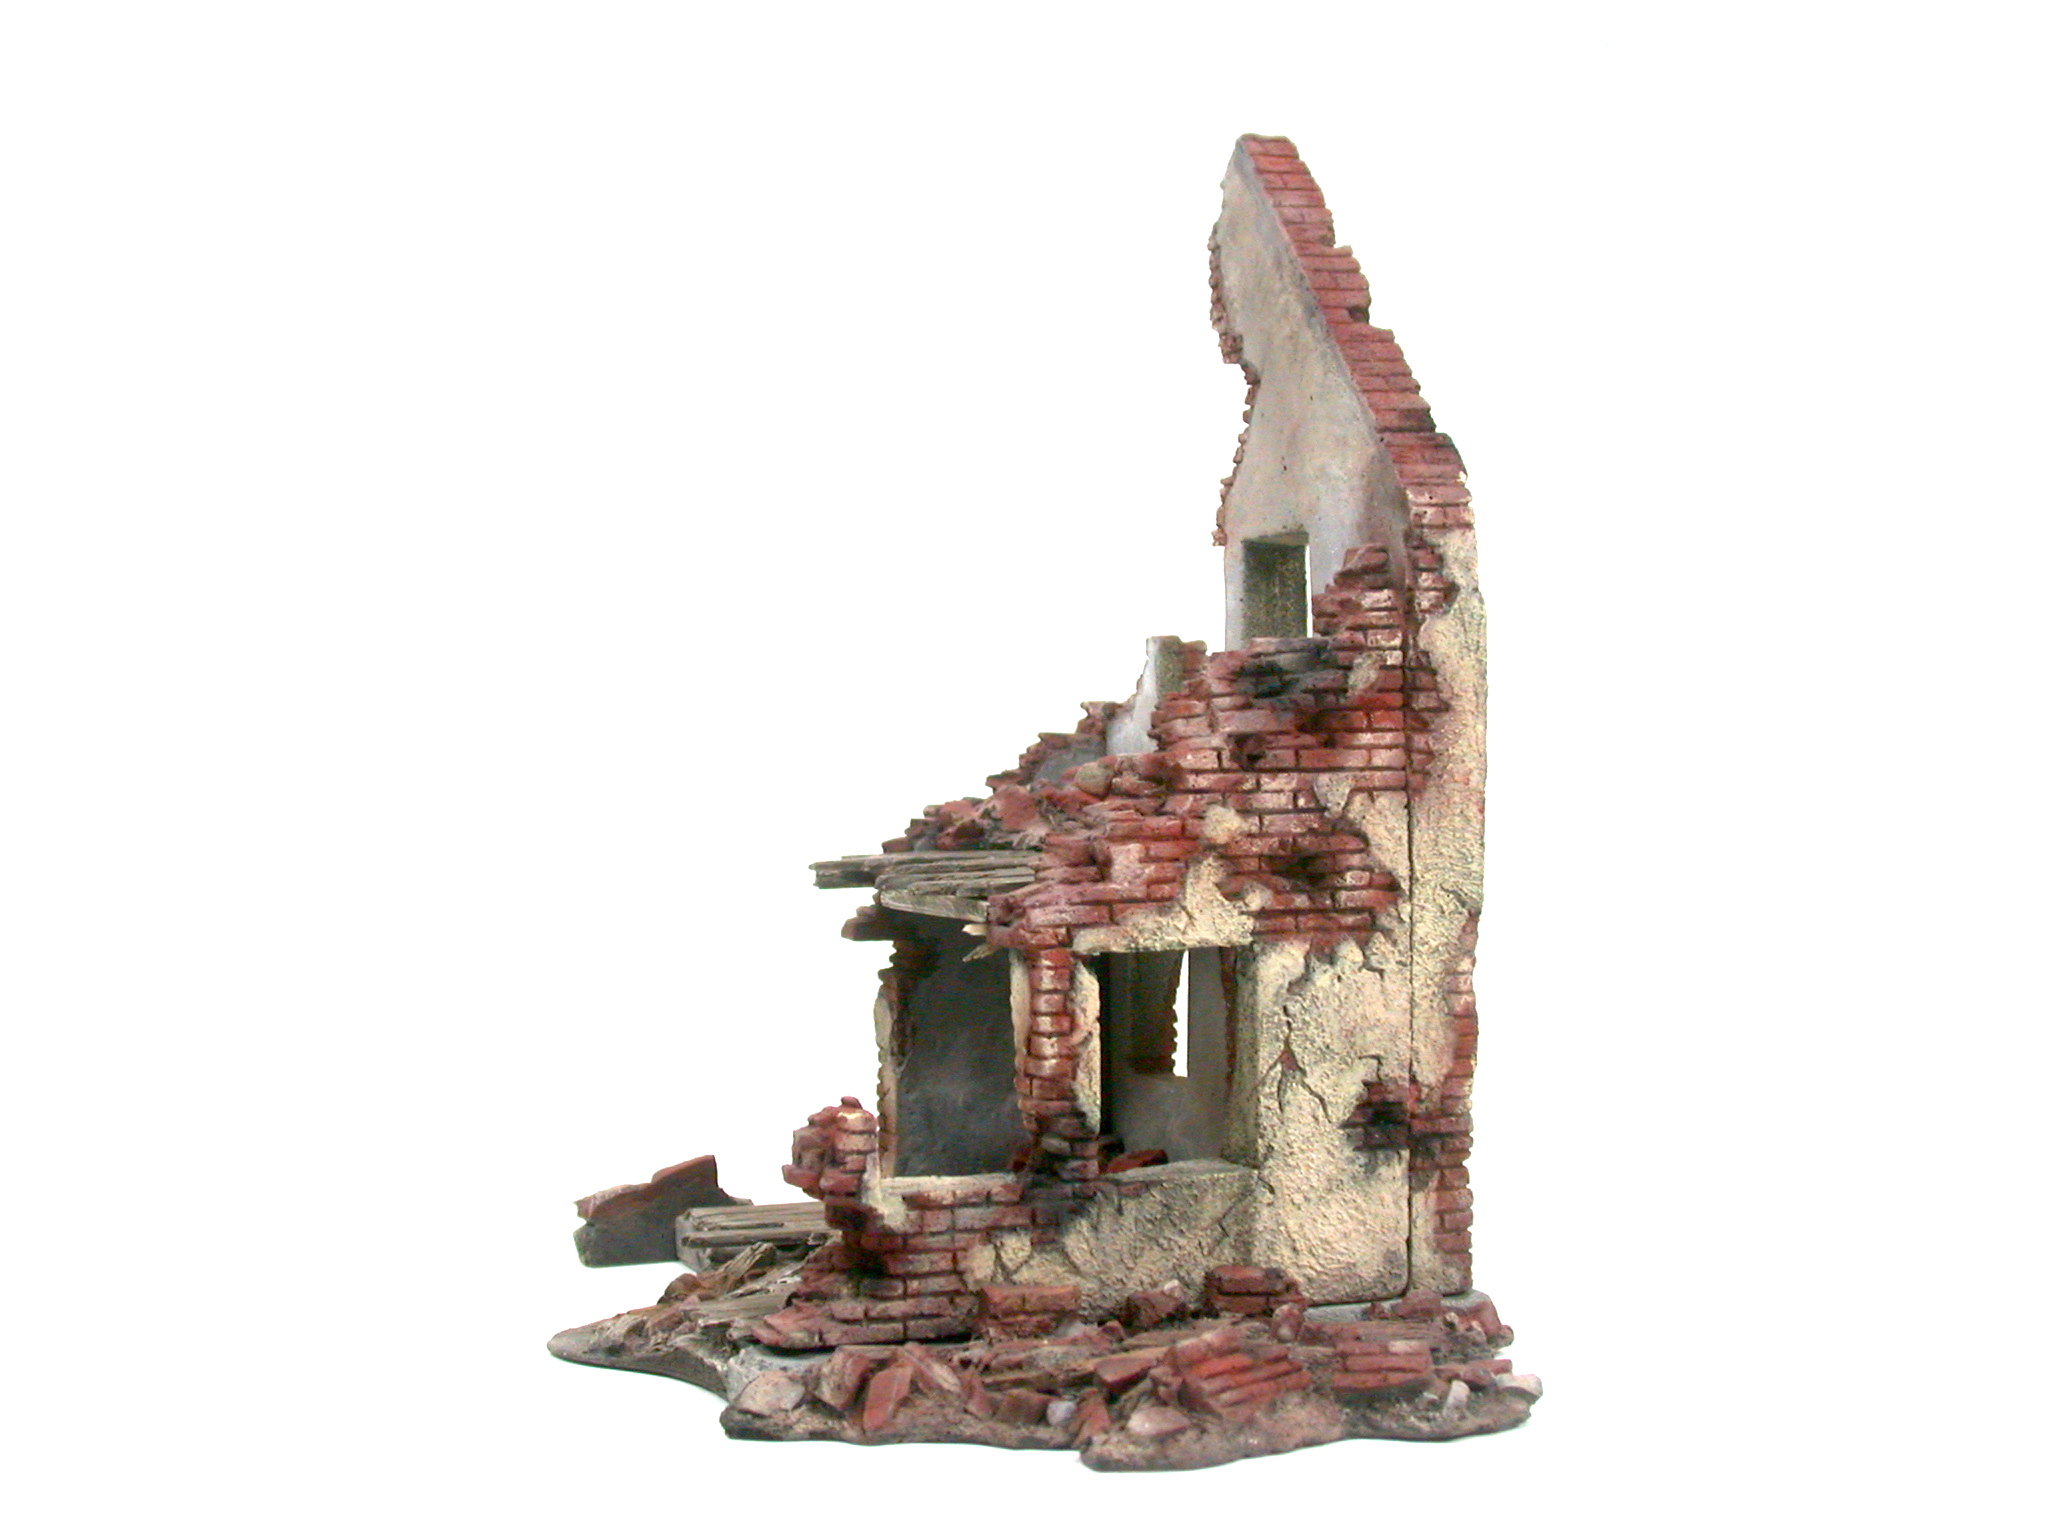
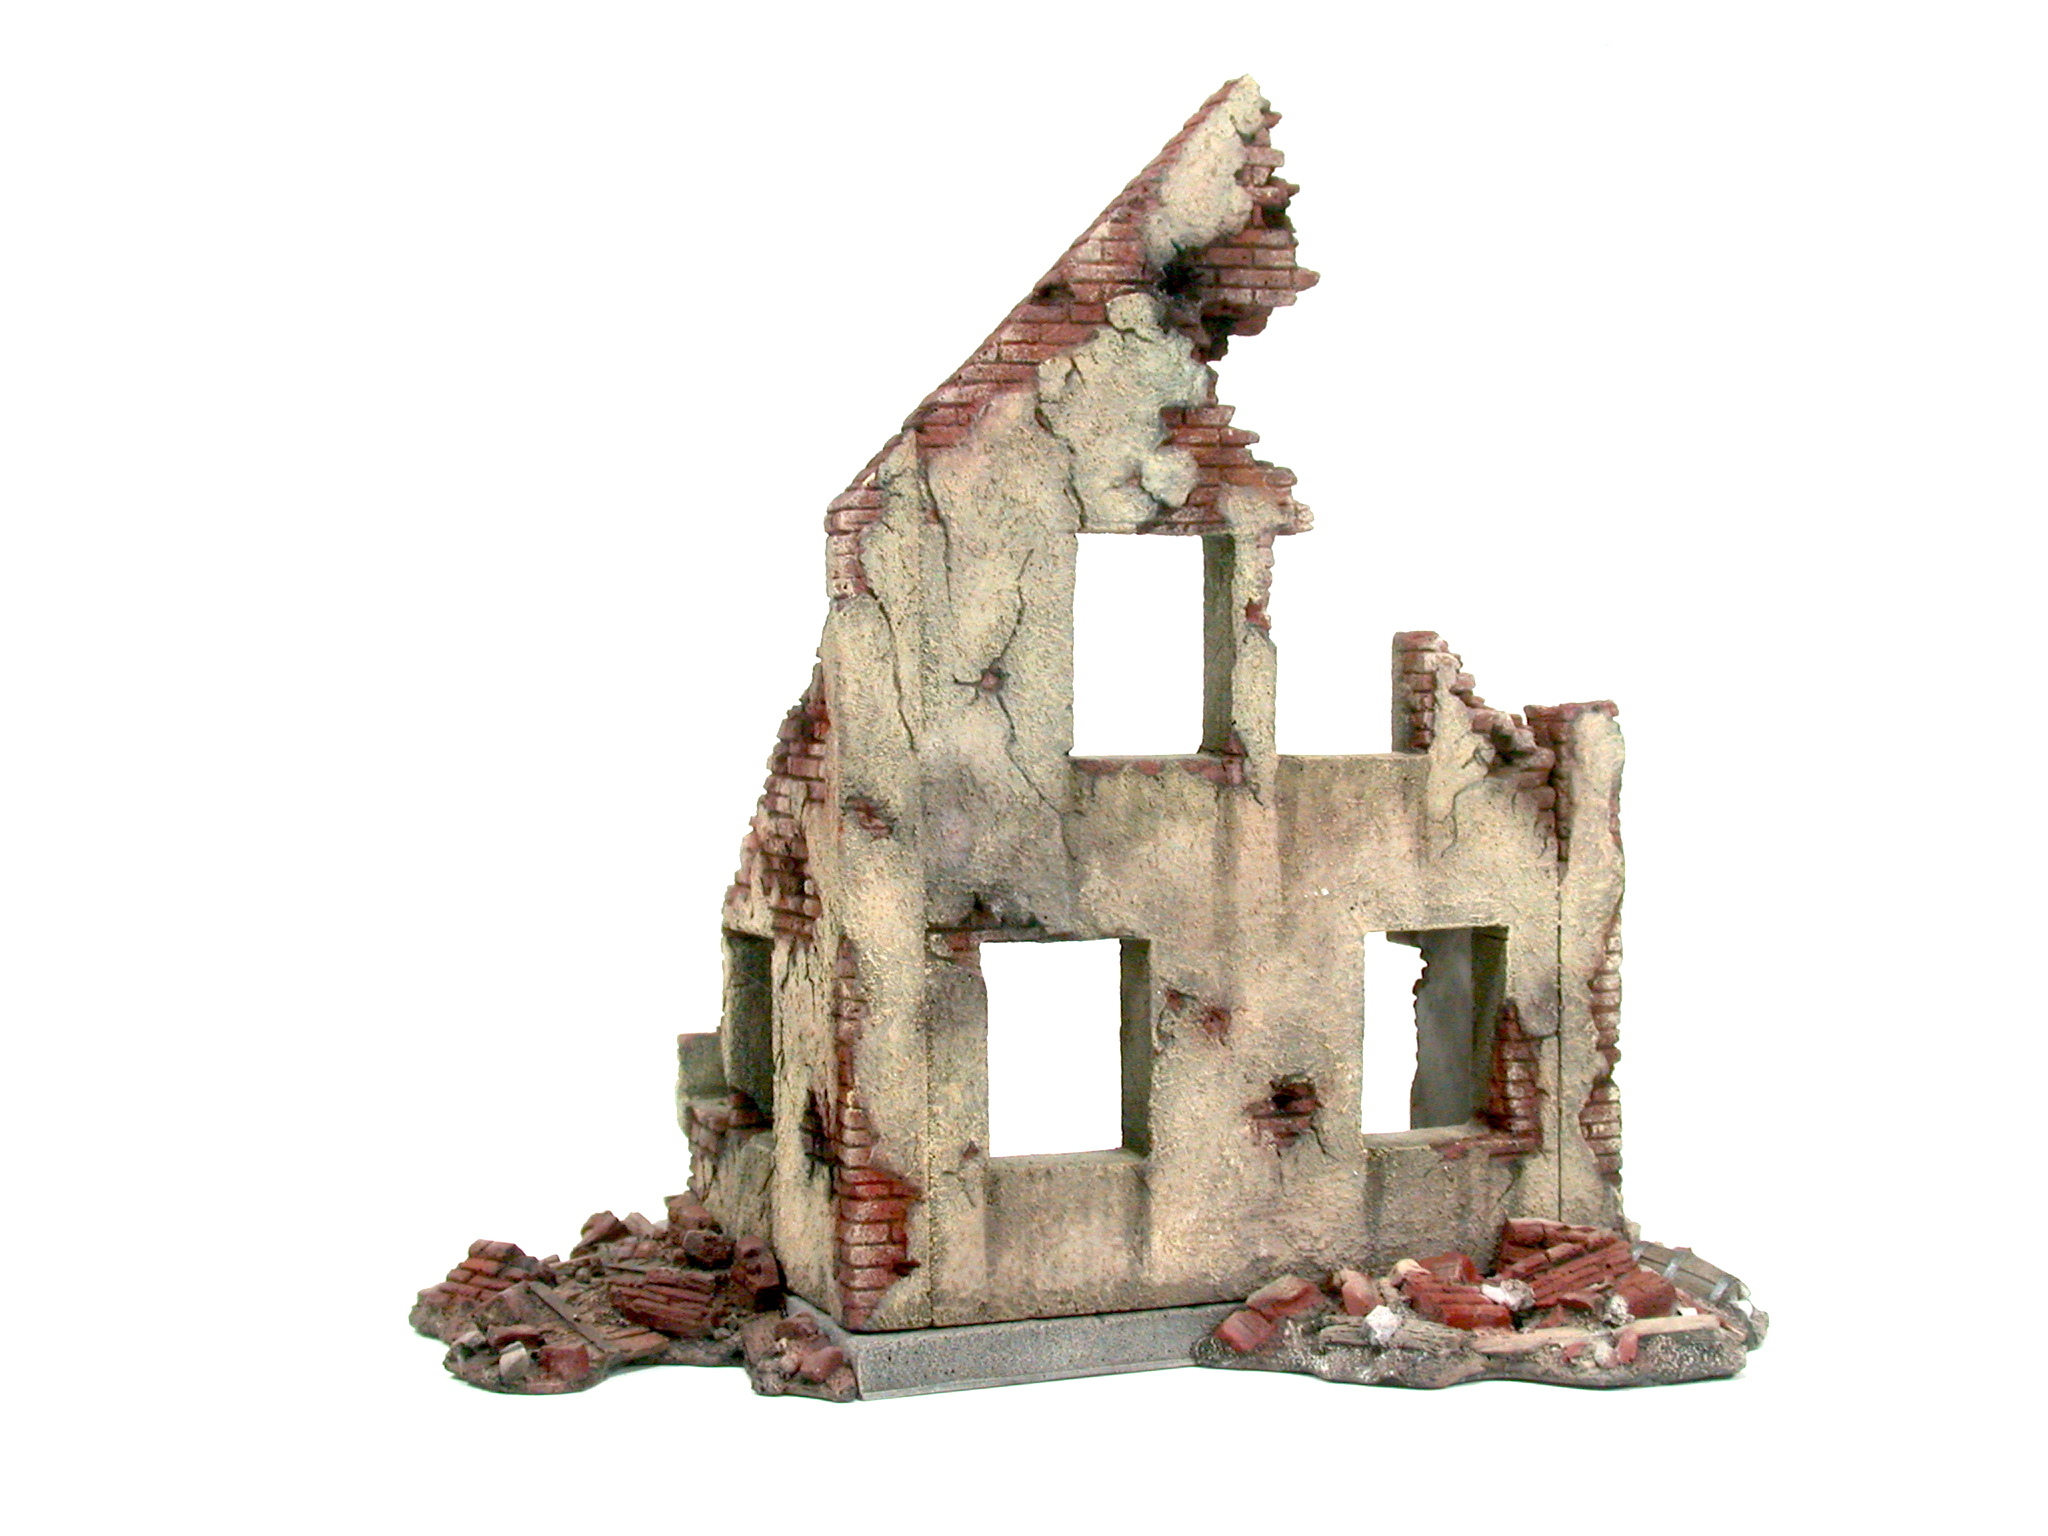
And here the finished ruined building:
Folgend Produkte passen zu dieser Anleitung:
